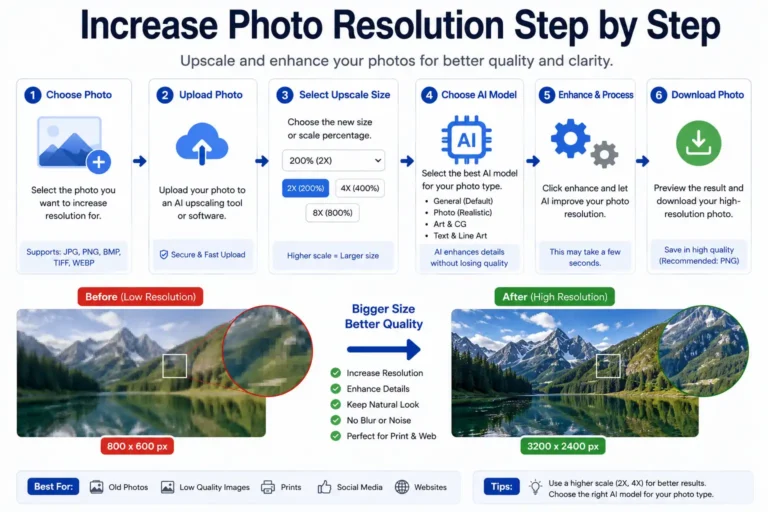
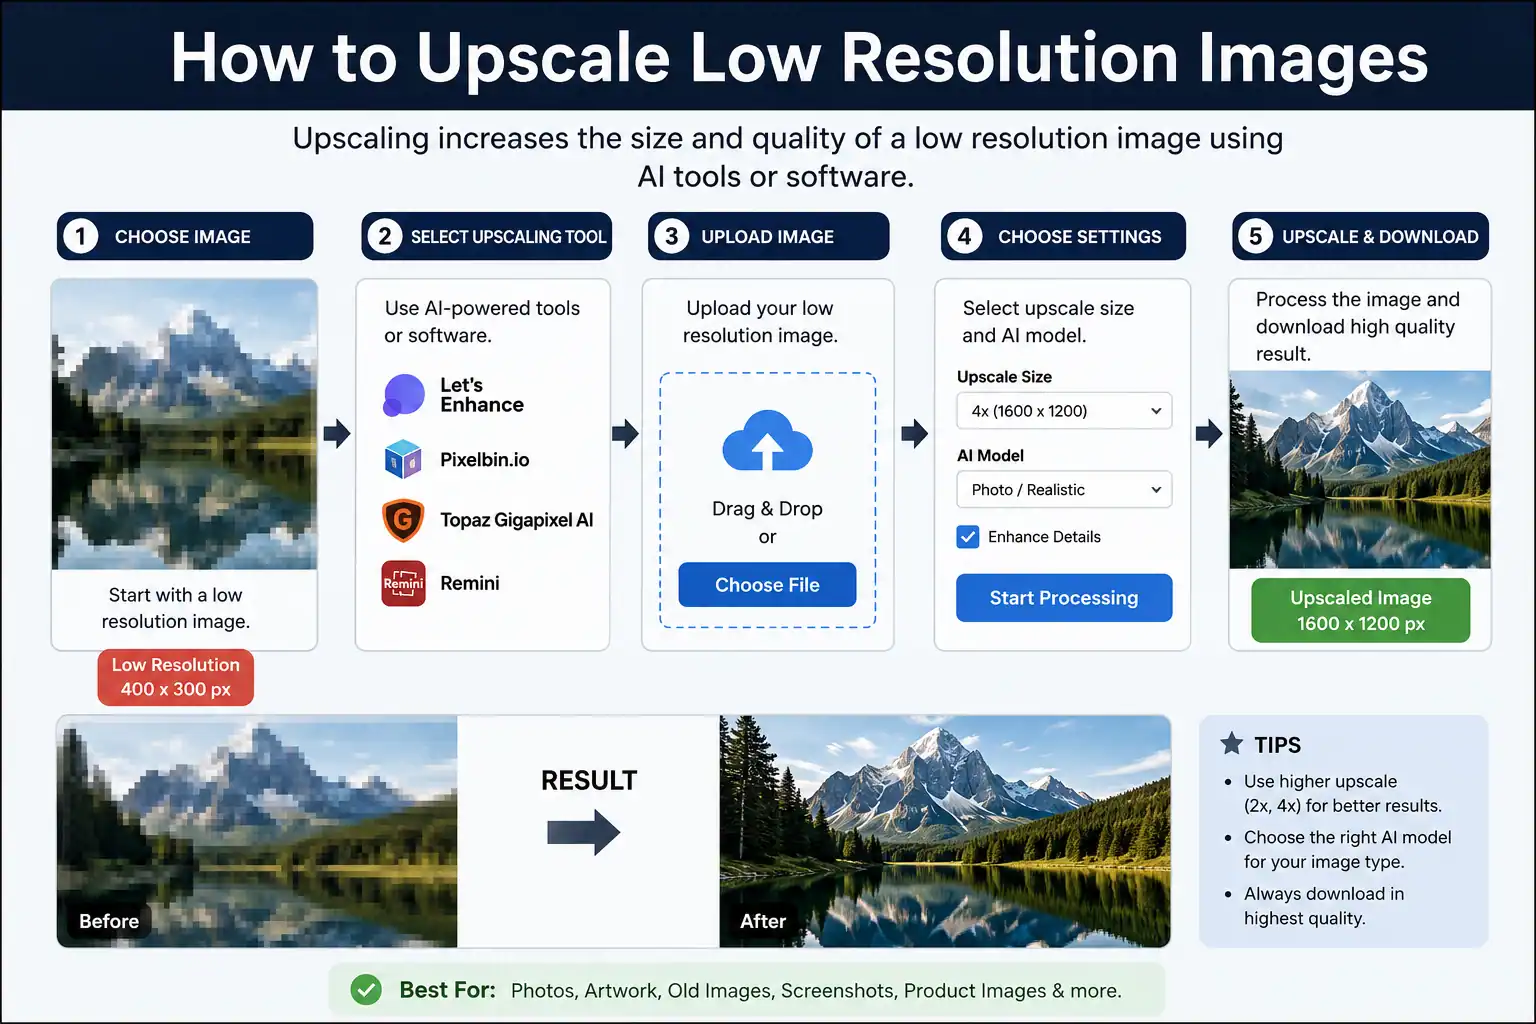
How to Upscale Low Resolution Images
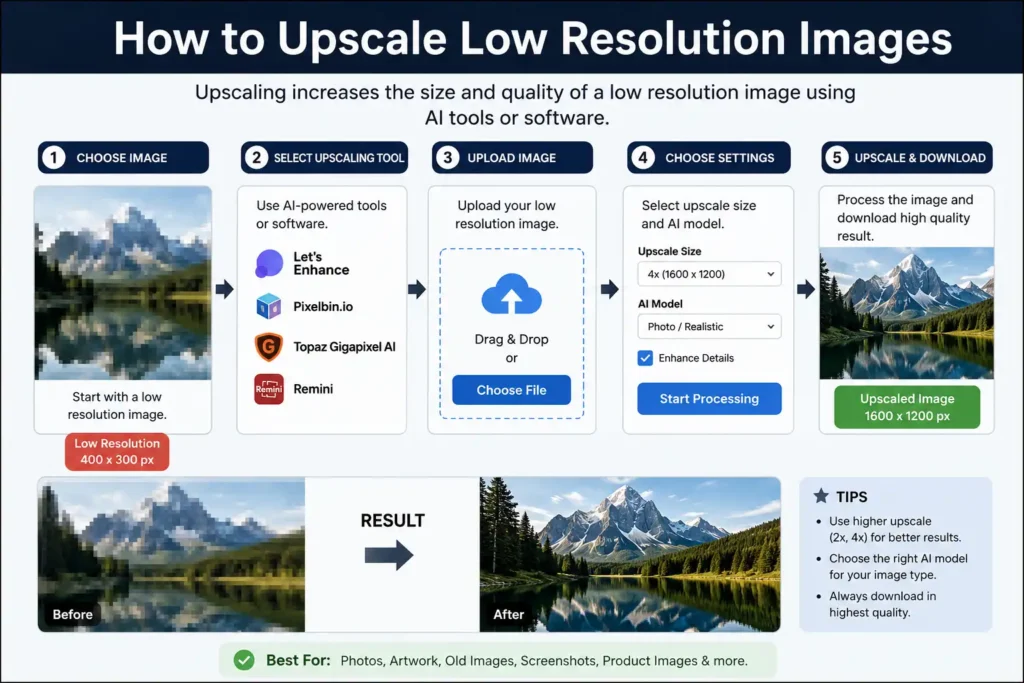
Low-resolution images are common in everyday work. A photo saved years ago, a small product picture, an old website banner, a scanned document, or a compressed social media download often looks fine on a phone screen. The problem starts when that image needs to be used in a larger format.
Once enlarged, the file may appear blurry, soft, stretched, or full of visible pixels. Fine details disappear, edges lose definition, and the image no longer looks suitable for professional use.
This is why image upscaling matters.
Upscaling low-resolution images means increasing their dimensions while preserving as much clarity, texture, and structure as possible. The purpose is not only to make the file bigger. The real goal is to keep the image usable for websites, print layouts, product listings, presentations, portfolios, and digital publishing.
This guide explains how image upscaling works, why quality drops, what affects the final result, and how to enlarge low-resolution images with better control.
What Is a Low Resolution Image?
A low-resolution image contains limited visual information. In simple terms, it has fewer pixels than a larger, sharper file.
Resolution refers to the amount of detail stored inside an image. The fewer the pixels, the less information the image can hold.
Examples of low-resolution files include:
- 400 × 400 pixels
- 600 × 800 pixels
- Small screenshots
- Compressed downloads
- Cropped images
- Old web graphics
- Thumbnail-sized photos
Low-resolution images usually show visible problems when enlarged:
- Blurry edges
- Pixelation
- Missing texture
- Poor sharpness
- Distorted details
- Soft facial features
- Rough text outlines
The smaller the original file, the harder it becomes to scale successfully. A tiny image may still work for a small preview, but it often fails when used for banners, posters, product pages, or print materials.
What Does Upscaling Mean?
Upscaling means increasing image dimensions while trying to preserve visual quality.
Unlike ordinary resizing, which may simply stretch the file, upscaling focuses on maintaining:
- Edge definition
- Texture consistency
- Subject clarity
- Visual balance
- Natural proportions
For example:
Original:
800 × 800
Upscaled:
2400 × 2400
The objective is to make the larger image look natural instead of stretched or broken. A good upscale should still resemble the original subject clearly, whether it is a portrait, logo, product photo, or landscape image.
Why Low Resolution Images Lose Quality
Every image is built from pixels. Pixels are the tiny colored squares that form the visible picture.
When dimensions increase, additional pixels must be created. If the original image does not contain enough detail, the new pixels are estimated from the existing ones. That is where quality loss begins.
This often causes:
Pixelation
Visible square patterns appear, especially around edges, text, and high-contrast areas.
Blur
Sharp lines become soft, and the image loses crispness.
Detail Loss
Textures such as hair, fabric, skin, grass, or product surfaces may disappear.
Noise
Random visual artifacts can appear, especially in older or compressed files.
Compression Damage
Files saved repeatedly in lossy formats often become worse after enlargement.
Understanding these limitations helps create realistic expectations. Upscaling can improve presentation, but it cannot fully restore detail that was never captured in the original file.
Start With the Best Available Source
Successful upscaling begins before resizing. The quality of the source file has the biggest impact on the final result.
Always locate the highest-quality original available.
Good source options include:
- Original photographs
- Camera exports
- Archived project files
- Original design assets
- Uncompressed images
- Scanned originals
- High-resolution product photos
Avoid using:
- Screenshots
- Cropped copies
- Social media saves
- Repeated exports
- Heavily compressed downloads
- Small preview images
If a larger original exists, use it instead of trying to recover detail from a tiny file. A clean source gives better results than any amount of correction later.
Understand Image Dimensions Before Upscaling
Image dimensions affect enlargement quality. Width and height determine how much space the image can occupy without losing clarity.
Examples:
Small:
500 × 500
Medium:
1500 × 1500
Large:
3000 × 3000
Increasing dimensions too aggressively often produces unrealistic results. A small image enlarged too much may look soft or broken, especially in detailed areas.
A practical approach is gradual enlargement:
500 → 900 → 1500 → 2200
This method usually preserves better visual structure than one large jump. It also makes it easier to inspect the image at each stage and correct problems early.
Resolution, PPI, and DPI Explained
These terms influence image quality and output.
Resolution
Resolution refers to the amount of detail contained in the image. Higher resolution usually means more pixels and more visible information.
PPI (Pixels Per Inch)
PPI is used for digital screens. It describes how many pixels appear within one inch of display space.
General screen range:
72–150 PPI
DPI (Dots Per Inch)
DPI is used for printing. It refers to how many ink dots are placed within one inch of printed material.
Common print standard:
300 DPI
Higher dimensions alone do not guarantee better quality. A large file with poor source detail may still look weak. Resolution, compression, and original clarity matter just as much as size.
Preserve Aspect Ratio During Enlargement
Aspect ratio controls the proportions of an image. It determines whether the image stays square, wide, tall, or rectangular.
Common examples include:
- 1:1
- 4:5
- 16:9
- 3:2
Changing proportions can cause:
- Stretched faces
- Distorted products
- Uneven layouts
- Broken text placement
- Unnatural shapes
Maintain the original aspect ratio whenever possible. If the image needs to fit a different frame, resize first and crop afterward. This keeps the subject looking natural and avoids unwanted distortion.
Choose the Right File Format
Different formats respond differently during upscaling. The file type affects compression, detail retention, transparency, and final output.
JPEG
Good for:
- Photos
- General web images
- Product photography
Advantages:
- Efficient storage
- Wide compatibility
- Smaller file size
Limitations:
- Compression artifacts
- Loss of fine detail after repeated saves
PNG
Good for:
- Graphics
- Logos
- Transparent files
- Screenshots with text
Advantages:
- Cleaner edges
- Better detail preservation
- Supports transparency
Limitations:
- Larger file size
WEBP
Good for:
- Websites
- Faster delivery
- Modern web publishing
Advantages:
- Efficient compression
- Good balance between quality and size
Limitations:
- Not ideal for every editing workflow
TIFF
Good for:
- Printing
- Professional workflows
- Archival storage
Advantages:
- Excellent detail retention
- Strong quality for large output
Limitations:
- Large file size
- Heavy storage requirements
Selecting the proper format helps preserve image integrity and prevents unnecessary quality loss.
Increase Image Size Without Creating Blur
Many enlarged images become blurry because resizing is done too quickly or with poor settings.
Reduce blur with these practices:
Resize Gradually
Avoid sudden jumps from very small to very large dimensions.
Preserve Original Data
Keep source files untouched so you can return to the original if needed.
Export Carefully
Use balanced compression settings and avoid unnecessary quality reduction.
Inspect at Full Size
Zoom in and review edges, textures, and fine details before final use.
Avoid Excessive Processing
Too many filters, repeated edits, or multiple saves can weaken the image.
A careful workflow usually produces a cleaner result than aggressive correction.
Improve Sharpness Carefully
Upscaling can soften details, so controlled sharpening may help restore clarity.
Useful techniques include:
- Edge enhancement
- Detail refinement
- Contrast adjustment
- Selective sharpening
- Local clarity correction
These adjustments should be subtle. Too much sharpening creates harsh outlines, grain, halos, and artificial texture. That is especially noticeable in portraits, product photos, and images with smooth backgrounds.
A cleaner image usually looks more professional than an over-processed one.
Recover Details in Portrait Images
Portraits require special attention because faces reveal quality problems quickly.
Focus areas include:
- Eyes
- Hair texture
- Skin detail
- Eyebrows
- Clothing edges
- Background separation
Common mistakes include:
- Over-smoothing skin
- Excess sharpening around the face
- Artificial texture
- Loss of natural tone
- Harsh contrast
The goal is to keep the portrait realistic. Natural skin texture, balanced lighting, and clear facial features usually create a better result than heavy correction.
Upscale Product Images for Better Presentation
Product photos benefit greatly from cleaner resolution. In e-commerce, image quality affects trust, click-through rate, and buyer confidence.
Advantages of better product resolution:
- Improved visibility
- Cleaner thumbnails
- More professional listings
- Better zoom experience
- Stronger presentation on marketplaces
Best practices include:
- Neutral backgrounds
- Consistent framing
- High-detail exports
- Uniform dimensions
- Clear edges
- Accurate color balance
Texture visibility matters especially for handmade goods, clothing, electronics, furniture, cosmetics, and physical products. Buyers often inspect details before making a decision.
Prepare Images for Printing
Print requirements differ from screen use. A file that looks acceptable online may fail in print if the resolution is too low.
Recommended settings:
Photos:
300 DPI
Posters:
150–300 DPI
Large formats:
100–150 DPI
Before printing:
- Review at full size
- Confirm dimensions
- Preserve color consistency
- Check margins and crop area
- Export carefully
- Keep the correct color profile
A screen preview may not reveal print issues such as softness, banding, or poor edge definition. Always check the final output size before sending a file to print.
Common Upscaling Mistakes
Enlarging Tiny Images Too Much
Very small originals have limits. If the source is too small, the enlarged version may never look clean.
Ignoring Resolution
Dimensions alone do not improve quality. Resolution and source detail matter more.
Saving Over Originals
Always keep backups. Once the original is overwritten, recovery becomes difficult.
Excess Compression
Repeated exports reduce detail and increase visible artifacts.
Wrong File Type
Choose the format according to the purpose of the image.
Overediting
Natural texture often looks better than heavy correction.
Avoiding these mistakes saves time and improves the final result.
File Size vs Resolution
These concepts are different, and they should not be confused.
Example:
Image A:
2 MB
Image B:
700 KB
Image B may still look sharper if it has better resolution and cleaner compression.
Image quality depends on:
- Source detail
- Resolution
- Compression
- Export settings
- File format
- Original capture quality
Large file size alone does not guarantee better visuals. A well-optimized image can look better than a heavier file with poor structure.
Best Workflow for Upscaling Low Resolution Images
A simple workflow helps maintain consistency and reduces visible quality loss.
Step 1: Locate the Best Original
Start with the highest-quality source available.
Step 2: Review Dimensions
Check width, height, and intended output size.
Step 3: Maintain Proportions
Keep the aspect ratio stable to avoid distortion.
Step 4: Resize Gradually
Increase dimensions in stages instead of one large jump.
Step 5: Apply Controlled Sharpening
Use subtle sharpening only where needed.
Step 6: Export With Balanced Settings
Choose the right format and compression level.
Step 7: Inspect the Final Result
Check the image at full size before publishing or printing.
This process improves consistency and helps reduce visible quality loss across different use cases.
Frequently Asked Questions
Can low-resolution images become high quality?
Visual quality can improve, but original detail limitations still remain. A small file cannot always be turned into a perfect large image.
Does increasing pixels create more detail?
Not automatically. More pixels help with size, but source quality remains important.
What format works best?
PNG and TIFF preserve more information, while JPEG remains practical for photographs and web use.
Is larger file size better?
Not necessarily. Efficiency, resolution, and compression balance matter more.
What resolution is suitable for print?
300 DPI is commonly recommended for sharp printed output.
Final Thoughts
Upscaling low-resolution images is about preserving quality while increasing usability.
A larger image should remain clear, balanced, and visually consistent rather than simply occupying more space. The best results come from understanding resolution, dimensions, file formats, sharpening, compression, and export settings.
This matters across websites, digital products, portfolios, print materials, presentations, and product listings. A careful workflow can make older or smaller images far more useful without losing their visual impact.
The strongest results usually begin with the best source image and a measured resizing process. When enlargement is handled properly, even low-resolution files can become practical, polished, and ready for professional use.