How to Increase Image Size Without Losing Quality
Images play a huge role in today’s digital world. Whether you run an online store, manage a blog, upload product listings, print designs, or share content on social media, image quality affects how people see your work. A blurry, stretched, or pixelated image can make even strong content look unprofessional and reduce trust in your brand.
One of the most common problems creators face is increaser image size without reducing quality. Many people enlarge an image only to discover that it becomes soft, distorted, or full of visible pixels. This usually happens because the original file does not contain enough detail to support a larger size.
The good news is that image enlargement does not always mean quality loss. With the right source file, correct settings, and careful editing, you can make an image larger while keeping it sharp and usable.
This guide explains how image resizing works, what causes quality reduction, and the best methods to enlarge images while maintaining clarity and detail.
Understanding Image Size
Before increasing image size, it helps to understand what image size actually means.
Image size usually refers to two different things:
- Dimensions (width × height in pixels)
- File size (KB or MB)
For example:
- 1000 × 1000 pixels = dimensions
- 500 KB = file size
These two measurements affect image quality in different ways. Dimensions tell you how many pixels make up the image, while file size tells you how much storage the image uses. A large file does not always mean a high-quality image, and a small file does not always mean poor quality.
A photo can have a large file size but still appear low quality if the resolution is weak or the image has already been compressed too much. Likewise, a smaller file may still look sharp if it was saved properly and contains enough detail for its intended use.
When people talk about increasing image size, they usually mean increasing the pixel dimensions. That is where quality can begin to suffer if the process is not handled carefully.
Why Images Lose Quality When Enlarged
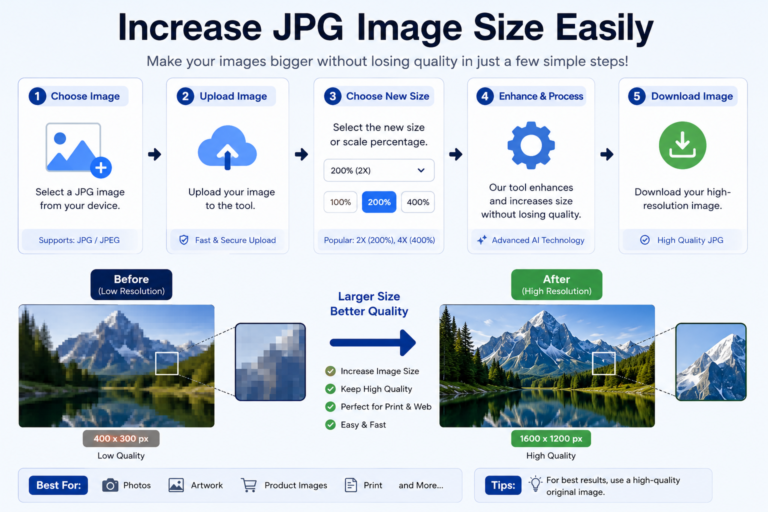
When an image is enlarged, software must create additional pixels.
If the original image contains limited information, those new pixels are estimated rather than real. This process often causes:
- Blurriness
- Pixelation
- Loss of texture
- Jagged edges
- Reduced sharpness
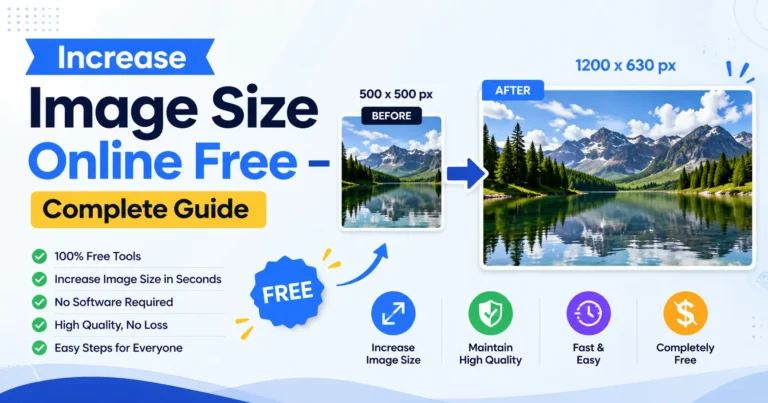
For example, stretching a 500 × 500 image into 3000 × 3000 gives the software very little original data to work with. The result may look soft, blocky, or unnatural, especially around edges, text, and fine details.
The lower the original resolution, the harder it becomes to maintain quality. Images that already contain compression artifacts, noise, or heavy editing usually become worse when enlarged. That is why starting with a strong source file matters so much.
Resolution and Why It Matters
Resolution determines how much detail an image contains.
Higher resolution images contain more visual information and respond better to enlargement. They usually have more pixels across the width and height, which gives the image more room to be resized without obvious damage.
Important terms:
Pixels
Small colored units that build an image. The more pixels an image has, the more detail it can hold.
PPI (Pixels Per Inch)
Used mainly for screens and digital viewing. It describes how densely pixels appear in a given space.
DPI (Dots Per Inch)
Important for printing. It refers to how many dots of ink are placed per inch on paper.
General recommendations:
- Website images: 72–150 PPI
- Print images: 300 DPI
- Product photography: High resolution preferred
Increasing dimensions without considering resolution often produces poor results. A file that looks fine on a phone screen may not hold up on a large monitor or in print. That is why resolution should always be checked before resizing.
Start With the Highest Quality Original File
The easiest way to preserve quality is to begin with the best available source image.
Good sources:
- Original camera files
- RAW photographs
- Exported design files
- High-resolution product photos
Avoid:
- Screenshots
- Compressed downloads
- Social media saves
- Repeatedly edited images
Every export and compression cycle can remove details permanently. If possible, always work from the original file instead of a copy that has already been resized or compressed. This is especially important for logos, product photos, portraits, and graphics that may need to be used in multiple sizes.
If you only have a small image, check whether a larger version exists in your archive, camera roll, cloud storage, or design folder before trying to enlarge it.
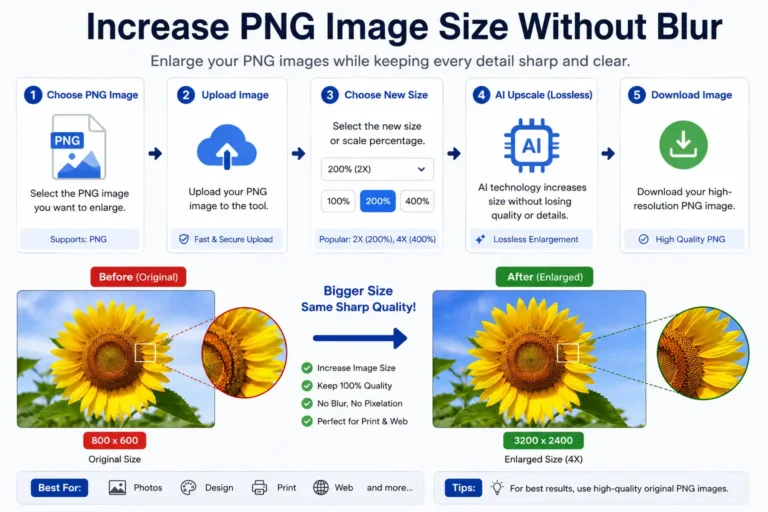
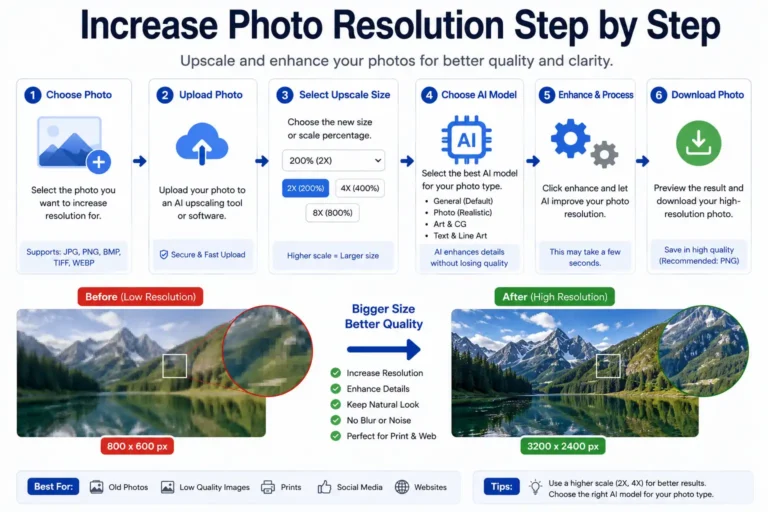
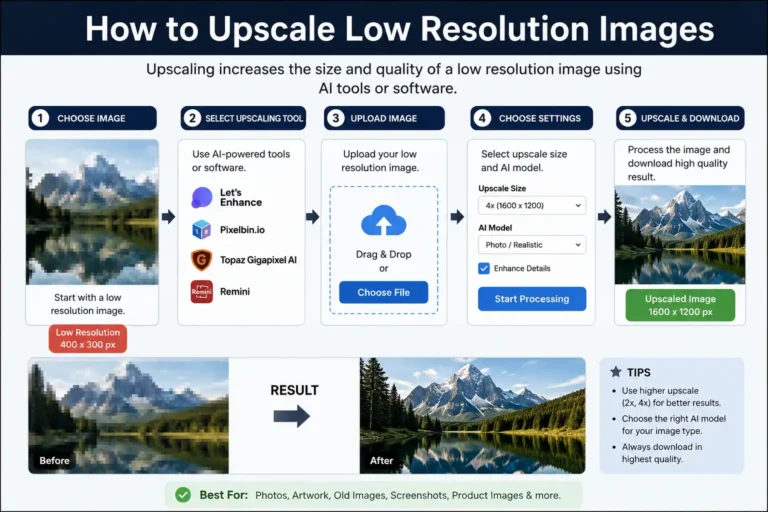
Use Image Upscaling Instead of Simple Stretching
Traditional resizing and image upscaling are different.
Basic resizing stretches existing pixels. This often leads to visible softness because the software is simply making the image bigger without improving the detail.
Modern upscaling methods analyze textures, edges, and patterns to enlarge images more naturally. They are designed to preserve the look of the subject while reducing the rough, blocky appearance that often comes from simple stretching.
Upscaling often works better for:
- Product images
- Portrait photography
- Blog graphics
- Digital illustrations
- Marketing visuals
The goal is not simply creating more pixels but preserving visual realism. A good enlargement should still look natural when viewed at full size. If the image is for a website, it should remain clear on desktop and mobile. If it is for print, it should hold detail when viewed up close.
Choose the Correct File Format
The format affects quality during resizing.
JPEG
Best for photographs.
Pros:
- Small file size
- Broad compatibility
- Good for web use
Cons:
- Compression may reduce quality
- Repeated saving can create visible artifacts
PNG
Best for graphics and transparency.
Pros:
- Better edge preservation
- Lossless compression
- Good for logos, icons, and text-based images
Cons:
- Larger files
- Not always ideal for large photo libraries
WEBP
Useful for web performance.
Pros:
- Excellent compression
- Good visual quality
- Efficient for websites
Cons:
- Limited compatibility in some workflows
- Not always preferred for editing
TIFF
Preferred for professional editing and printing.
Pros:
- High quality
- Strong detail retention
- Suitable for archival use
Cons:
- Large file size
- Not ideal for everyday web uploads
Choosing the right format before enlargement can improve final results. For example, a product photo may work best as JPEG or WEBP for the web, while a logo or graphic with clean edges may be better as PNG.
Increase Dimensions Gradually
Large jumps in dimensions often damage quality.
Instead of:
1000 → 4000 pixels
Try:
1000 → 1500 → 2200 → 3000 → 4000
Gradual enlargement helps preserve edges and textures. It gives you more control over the final result and reduces the chance of visible distortion.
This method works especially well for:
- Product photography
- Digital artwork
- Portfolio images
- Print preparation
If you are resizing manually, check the image after each step. Look closely at faces, text, borders, and fine patterns. These areas usually reveal quality loss first.
Maintain Aspect Ratio
Aspect ratio controls image proportions.
Common examples:
- 1:1
- 4:5
- 16:9
- 3:2
Changing aspect ratio while enlarging can stretch subjects and distort details. A face may look wider, a product may appear flattened, or a logo may lose its original shape.
Always keep proportional scaling enabled unless intentional cropping is needed. If you need a different layout, crop the image after resizing rather than forcing it into the wrong shape. This keeps the subject looking natural and professional.
Sharpen After Enlarging
Resizing can soften image edges.
Light sharpening often restores visual clarity and helps the image look more defined. This is especially useful for portraits, product shots, and graphics with clear lines.
Common sharpening approaches:
- Edge enhancement
- Detail recovery
- Smart sharpening
- Local contrast adjustments
Avoid excessive sharpening. Too much can create halos, harsh outlines, and artificial textures. The goal is to improve clarity, not make the image look over-processed.
A good rule is to sharpen only enough to restore crispness after resizing. If the image begins to look gritty or unnatural, reduce the effect.
Reduce Compression During Export
Many platforms compress images automatically.
Best practices:
- Export at high quality settings
- Save fewer times
- Use optimized compression
- Keep an editable master file
Repeated exports can degrade image appearance. Each time a file is saved in a compressed format, some detail may be lost. This is why it is smart to keep one master version in a high-quality format and create separate copies for web, print, or social media.
If you are preparing images for a website, balance quality with loading speed. A sharp image is important, but a file that is too large can slow down the page. The best result is usually a clean image with efficient compression.
Increase Image Size for Printing
Printing requires different preparation than screen viewing.
Recommended settings:
Photos:
300 DPI
Posters:
150–300 DPI
Large banners:
100–150 DPI depending on distance
Before printing:
- Check dimensions
- Verify color profile
- Export in print-ready format
- Review the image at full size
A screen image that looks sharp may print poorly if resolution is insufficient. Print projects need enough detail to remain clear on paper, canvas, or other materials. If the image will be viewed from far away, such as a banner, slightly lower DPI may still work. For close viewing, higher resolution is better.
If possible, test a sample print before producing a large batch. This helps you catch problems with sharpness, color, or cropping before final production.
Increase Product Image Size for E-Commerce
Online stores depend heavily on image quality.
High-quality product images improve:
- Buyer confidence
- Click-through rates
- Engagement
- Conversion potential
Recommended practices:
- Use square dimensions when needed
- Keep consistent backgrounds
- Export optimized images
- Preserve fine details
- Show the product from multiple angles
Product photography benefits greatly from proper enlargement workflows. Customers want to see texture, shape, color, and finish clearly. If the image is too small or blurry, they may hesitate to buy.
For e-commerce, consistency matters as much as sharpness. Keep lighting, framing, and background style uniform across your product catalog. This creates a cleaner storefront and makes your listings look more professional.
Common Mistakes to Avoid
Enlarging Tiny Images Too Much
Small originals rarely become perfect large images. If the source file is extremely small, there may not be enough detail to recover.
Saving Over the Original
Always keep backup copies. Once the original is overwritten, you may lose the best version of the file.
Ignoring Resolution
Dimensions alone do not guarantee quality. Resolution and source detail matter just as much.
Overusing Filters
Heavy enhancement often creates unrealistic results. Too much contrast, sharpening, or smoothing can make the image look artificial.
Exporting Multiple Times
Repeated compression reduces detail. Try to edit from the master file and export only when needed.
Forgetting the Final Use
An image for a website, print project, or social post may need different settings. Always resize based on the final purpose.
Best Workflow for High-Quality Image Enlargement
Step 1: Use the highest quality source
Step 2: Choose correct format
Step 3: Upscale instead of stretching
Step 4: Resize gradually
Step 5: Preserve aspect ratio
Step 6: Apply light sharpening
Step 7: Export carefully
Following this process usually delivers cleaner and more professional results. It also saves time because you are less likely to redo the work after noticing quality problems.
If you regularly resize images, it helps to create a simple workflow and use the same settings for similar projects. That keeps your output consistent and easier to manage.
Frequently Asked Questions
Can you increase image size without losing quality?
You can preserve much of the visible quality when starting with a good source image and using proper enlargement methods. The better the original file, the better the final result.
Does increasing file size improve quality?
Not necessarily. File size alone does not create more detail. A larger file may still look poor if the image was compressed badly or started with low resolution.
Which format keeps quality best?
PNG and TIFF preserve more information, while JPEG remains efficient for photographs. The best format depends on the image type and final use.
What resolution is best for printing?
300 DPI is widely recommended for high-quality prints. For large-format prints viewed from a distance, lower DPI may still be acceptable.
Is upscaling better than normal resizing?
Upscaling generally performs better for preserving details and reducing visible quality loss. It is usually the better choice when you need a larger image.
Final Thoughts
Increasing image size without losing quality comes down to understanding resolution, choosing the right file format, preserving original data, and using better enlargement methods instead of simple stretching.
A clear, detailed image creates stronger visual impact, improves presentation, and supports better user experience across websites, stores, print projects, and digital content. Whether you are preparing a product photo, a blog graphic, a portfolio image, or a print file, the same principle applies: start with the best source and resize with care.
Rather than focusing only on making images bigger, focus on keeping them cleaner, sharper, and visually consistent. When quality remains intact, larger images become an advantage instead of a compromise.