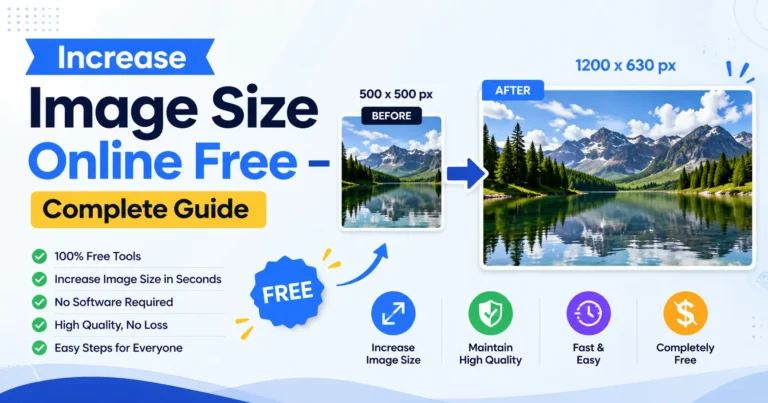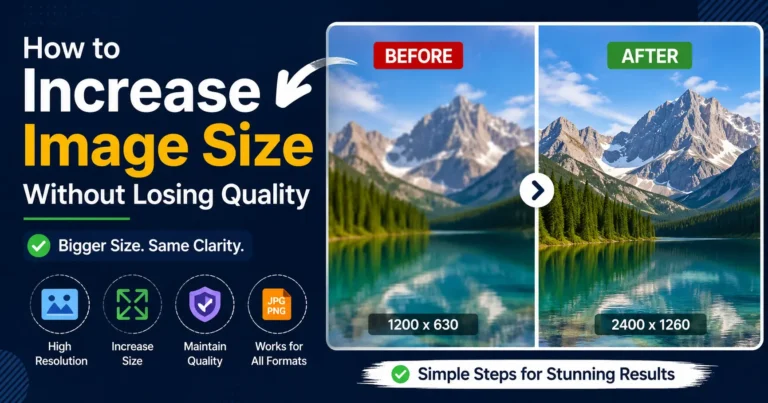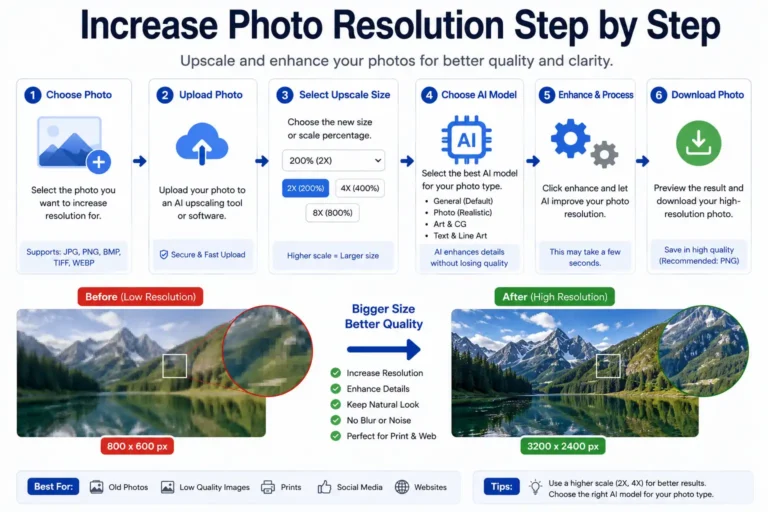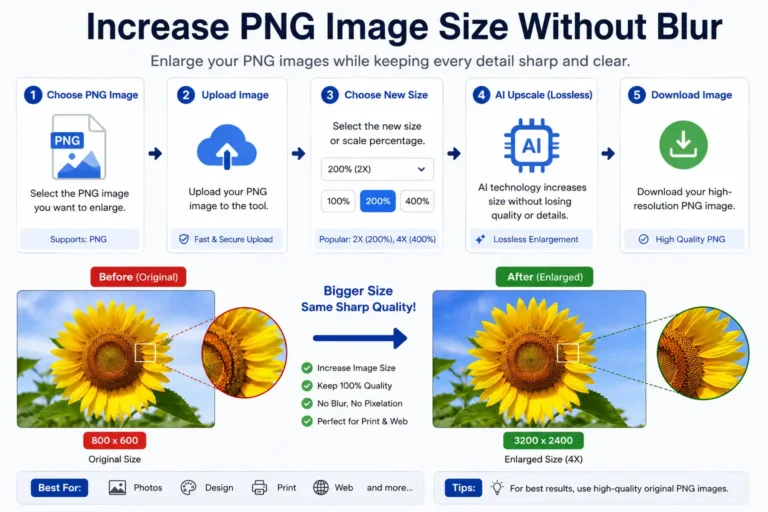
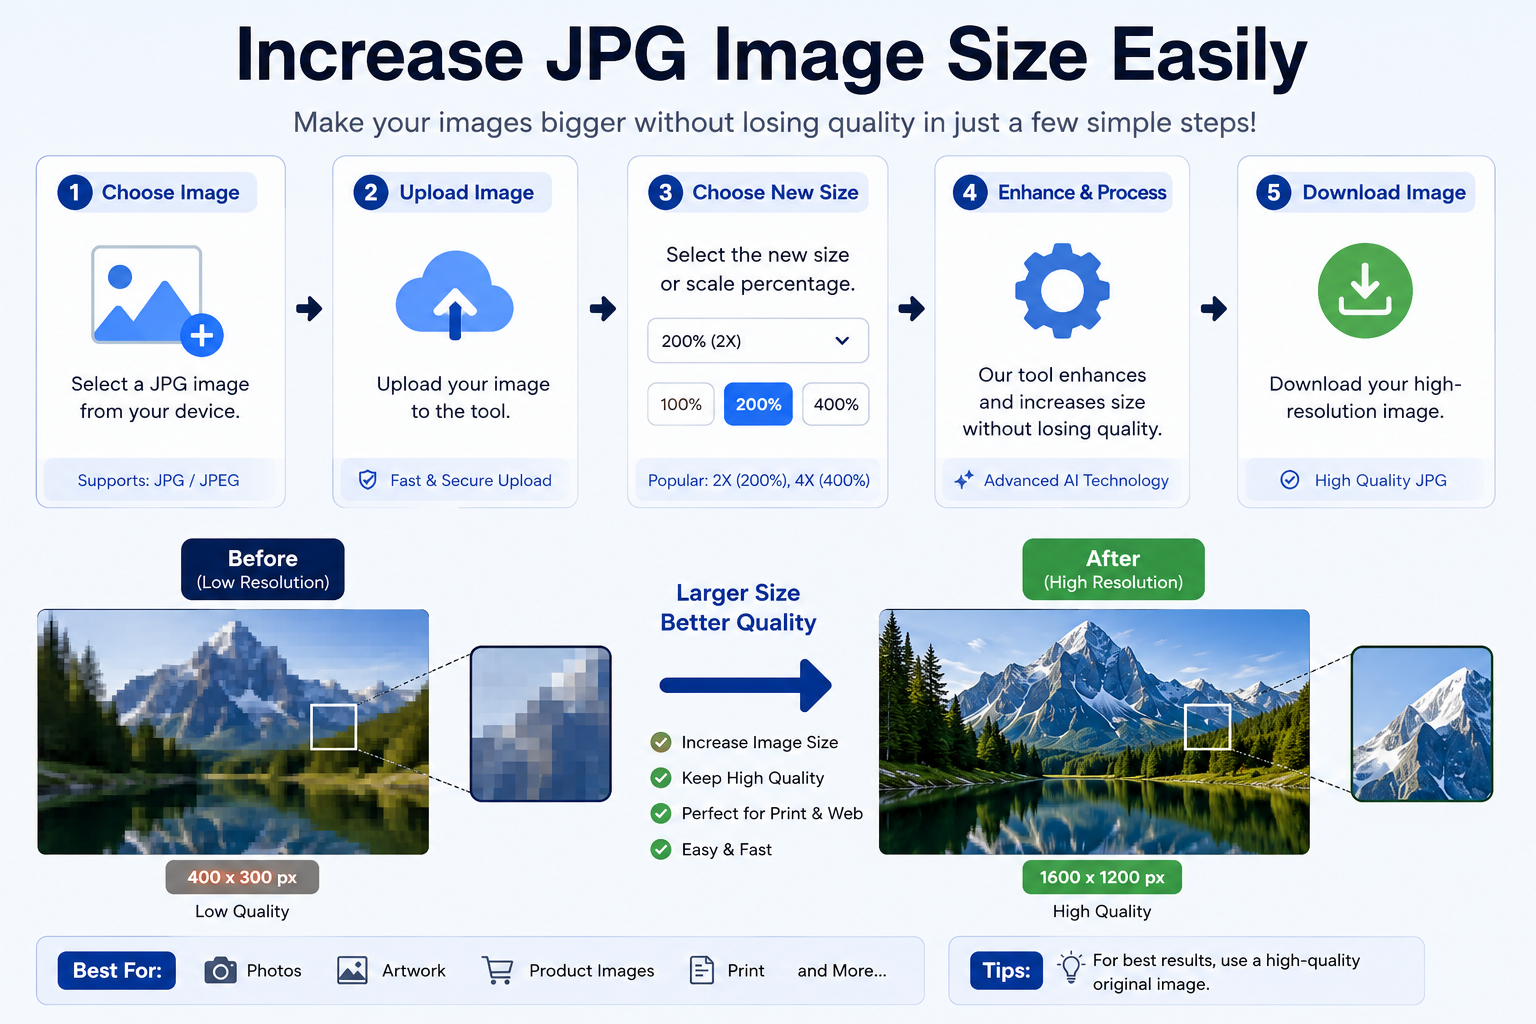
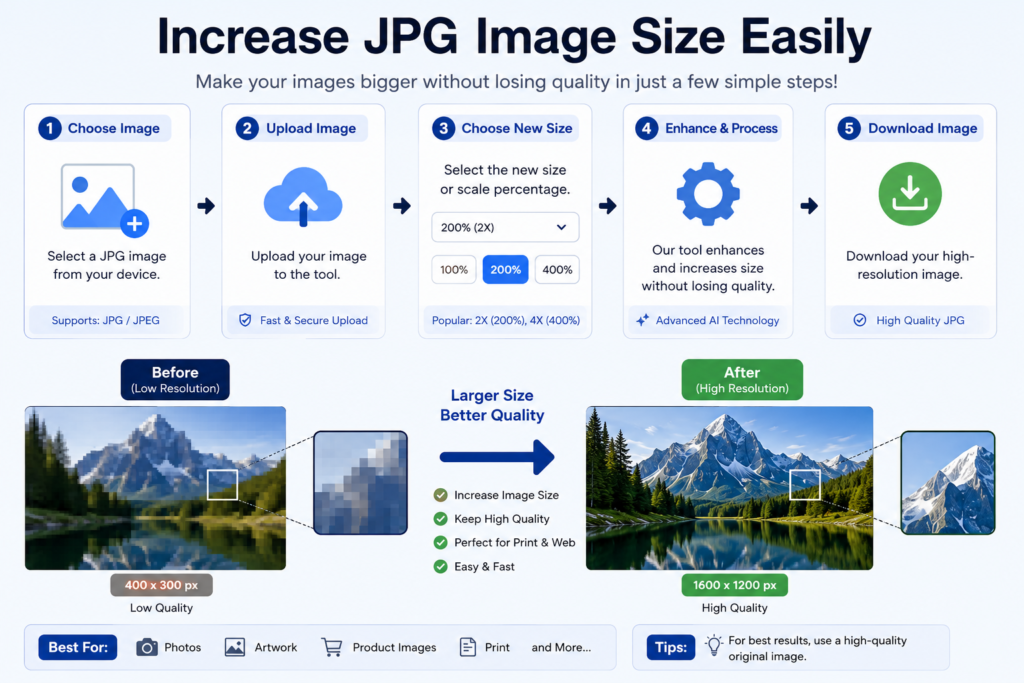
Increase JPG Image Size Easily Without Losing Quality
JPG is one of the most widely used image formats on the internet. It is common in product photography, website banners, blog graphics, digital downloads, portfolio images, and social media visuals because it offers a practical balance between image quality and file size. For everyday publishing, JPG remains a dependable raster format for photos and detailed visuals.
Still, one problem comes up often: increasing JPG image size without making the picture blurry, stretched, pixelated, or over-compressed.
Many people think enlarging a JPG is only a matter of dragging the corners or changing the width and height. In practice, image enlargement depends on resolution, pixel dimensions, compression level, interpolation method, and export settings. If these factors are ignored, the result can lose sharpness, texture, color depth, and overall clarity.
This guide explains how to increase JPG image size easily while keeping the image suitable for websites, printing, product listings, presentations, and digital publishing.
Understanding JPG Image Size
Before resizing, it helps to understand what image size actually means.
Image size usually refers to two different measurements:
- Dimensions
- File size
Dimensions
Dimensions refer to the pixel width and pixel height of an image.
Example:
1200 × 1200 pixels
When dimensions increase, the image becomes larger on screen or in print. More pixels usually allow more detail, but only if the original file contains enough information.
File Size
File size is measured in:
- KB
- MB
Example:
- 800 KB
- 2 MB
A larger file does not automatically mean a sharper image. File size is influenced by compression, image complexity, color variation, and export quality. A small JPG can still look excellent if it has strong resolution and clean source detail.
Quality depends on:
- Source resolution
- Compression level
- Export settings
- Original detail
- Color profile
- Image content
A portrait, product photo, or landscape image may respond differently to resizing depending on how much texture and edge detail it contains.
Why JPG Images Lose Quality
JPG uses lossy compression to reduce storage space. This means some image data is removed during saving so the file stays smaller and easier to share. That is useful for web performance and storage, but it also makes enlargement more difficult.
When a JPG is enlarged, the editor has to create new pixels based on the existing ones. If the source image is small or heavily compressed, the new pixels may not look clean.
Common problems include:
Blur
Edges lose sharpness, especially around text, product outlines, faces, and fine details.
Compression Artifacts
Visible block patterns, banding, or rough edges may appear, especially in flat backgrounds and gradients.
Texture Loss
Fine details such as fabric, hair, skin texture, or surface patterns can disappear.
Soft Appearance
The image may look smooth but lack definition, making it appear weak or washed out.
Repeated saving often increases these issues. Each save cycle can add more compression damage, especially if the file is exported at a low quality setting.
Start With the Best Original JPG
The original image determines the final result. If the source file is weak, no resizing method can fully restore missing detail.
Recommended sources:
- Camera exports
- High-resolution photos
- Original design files
- Product photography
- Fresh JPG exports from a master file
Avoid:
- Screenshots
- Cropped images
- Downloaded previews
- Repeatedly compressed files
- Social media downloads
A strong source file gives better edge retention, cleaner color transitions, and more usable detail after enlargement. If possible, begin with the highest-quality version available. For commercial work, this is especially important for e-commerce product images, catalog visuals, and print-ready graphics.
Increase Dimensions Gradually
One large jump often damages quality. A small image enlarged too aggressively can become soft and unnatural.
Instead of:
1000 → 4000
Try:
1000 → 1500 → 2200 → 3000
This gradual approach helps preserve structure and reduces visible distortion. It also gives you a chance to inspect the image after each step and stop before quality drops too far.
Benefits:
- Better edge retention
- Cleaner texture
- Reduced distortion
- More controlled output
- Less visible pixel breakup
If the image is for a website banner, social post, or product page, gradual resizing often produces a more balanced result than one large upscale.
Preserve Resolution During Enlargement
Resolution controls visible detail. It is one of the most important factors in image resizing.
Important terms:
Pixels
Pixels are the tiny units that create the image. More pixels usually mean more detail.
PPI
PPI stands for pixels per inch and is commonly used for digital screens and layout planning.
Recommended:
72–150
DPI
DPI stands for dots per inch and is commonly used for printing.
Recommended:
300
If you increase dimensions without checking resolution, the image may look acceptable on a small screen but fail in print or on larger displays. For example, a JPG that looks fine in a browser may not hold up in a brochure, flyer, or poster.
For print work, always check the final physical size. A 3000-pixel image may be enough for a small brochure image, but not for a large banner. For web use, the goal is usually a clean display with reasonable file size and fast loading.
Maintain Correct Aspect Ratio
Aspect ratio preserves the original proportions of the image.
Examples:
- 1:1
- 16:9
- 4:5
- 3:2
Changing proportions may cause:
- Stretched subjects
- Distorted products
- Unnatural composition
- Oval faces or widened objects
- Uneven text placement
Always resize proportionally unless you intentionally want a custom crop. Lock the aspect ratio before changing width or height. If the image needs a different layout, crop after resizing instead of stretching the file.
This is especially important for logos, product shots, portraits, and banner graphics where visual balance matters.
Export JPG Carefully
Export settings matter as much as resizing itself. A well-sized image can still look poor if it is exported with the wrong compression level or color settings.
Best practices:
- Keep balanced compression
- Avoid repeated exports
- Preserve the original file
- Review final output at full size
- Use the correct color profile
- Save a master copy before exporting
Over-compression creates visible quality loss. Too much sharpening can also create halos around edges, especially on faces, text, and high-contrast objects. If the image is for web use, export in a way that keeps the file light without making it look rough.
For online publishing, sRGB is usually the safest color profile because it displays consistently across most browsers and devices. For print, check the requirements of the printer or publication before exporting.
Increase JPG Size for Different Uses
The right resizing approach depends on where the image will be used.
Website Images
For websites, the focus should be on:
- Fast loading
- Clean display
- Responsive layout
- Balanced file size
A large JPG can slow down a page if it is not optimized. For web pages, resize only as much as needed for the layout. A hero image, blog header, or featured image may need more width than a thumbnail or sidebar graphic.
Product Photos
For product pages, focus on:
- Sharp details
- Consistent appearance
- Clean background
- Accurate color
- Clear edges
E-commerce images often need enough size for zooming and close inspection. Product photography should remain crisp around labels, packaging, fabric texture, and surface detail.
Printing
For print projects, focus on:
- High DPI
- Correct dimensions
- Clean source quality
- Accurate color reproduction
A JPG for print should be checked at the final physical size. A file that looks fine on screen may not be suitable for a flyer, brochure, catalog, or poster unless the resolution is high enough.
Social Media
For social media, focus on:
- Platform-friendly size
- Clear thumbnails
- Good crop placement
- Strong visual impact
Different platforms compress images differently, so starting with a clean, properly sized JPG helps preserve quality after upload. Keep important details away from the edges so cropping does not remove key content.
Common JPG Resizing Mistakes
Many quality problems come from simple mistakes during editing.
- Enlarging tiny images
- Saving repeatedly
- Ignoring resolution
- Excess sharpening
- Wrong export settings
- Stretching instead of resizing proportionally
- Using a low-quality source file
- Uploading an oversized image without optimization
Avoiding these issues improves final quality and keeps the image more usable across different platforms. If the image is important for branding, sales, or publishing, it is worth checking the file carefully before final export.
When working with enlarged JPG images, using an image compressor can help optimize files for websites, making pages load faster without unnecessarily sacrificing visual quality.
File Size vs Image Quality
Large files are not always better. A bigger JPG may simply contain more compression noise or unnecessary data. On the other hand, a smaller file can still look excellent if it was prepared correctly.
Image quality depends on:
- Resolution
- Compression
- Original source
- Dimensions
- Color detail
- Export method
Efficient images often perform better than oversized files. For websites, this means faster loading and better user experience. For print, it means cleaner output and fewer visible defects. The goal is not to make the file as large as possible, but to make it large enough for the intended use without losing clarity.
Frequently Asked Questions
Can JPG size increase without quality loss?
Visible quality can often be preserved with proper resizing practices, but some loss is always possible because JPG is a compressed format. The better the source file, the better the final result.
Is JPG good for enlargement?
JPG works well when the original contains enough detail. It is suitable for photos, banners, product images, and many web graphics. It is less suitable for logos, icons, and text-heavy artwork where sharp edges are critical.
Does larger MB improve quality?
No. File size alone does not determine quality. Resolution, compression, and source detail matter more than the number of megabytes.
Final Thoughts
Increasing JPG image size easily is less about making the file bigger and more about preserving clarity, detail, and visual balance.
When you start with a strong source file, maintain resolution, control compression, keep the aspect ratio correct, and export carefully, JPG images remain suitable for websites, digital products, printing, portfolios, and product listings.
The best results come from treating enlargement as a quality process instead of a simple size adjustment. If the image is important, take time to check the source, resize in steps, and export with care. That approach gives you a cleaner JPG with better sharpness, better presentation, and better overall usability.