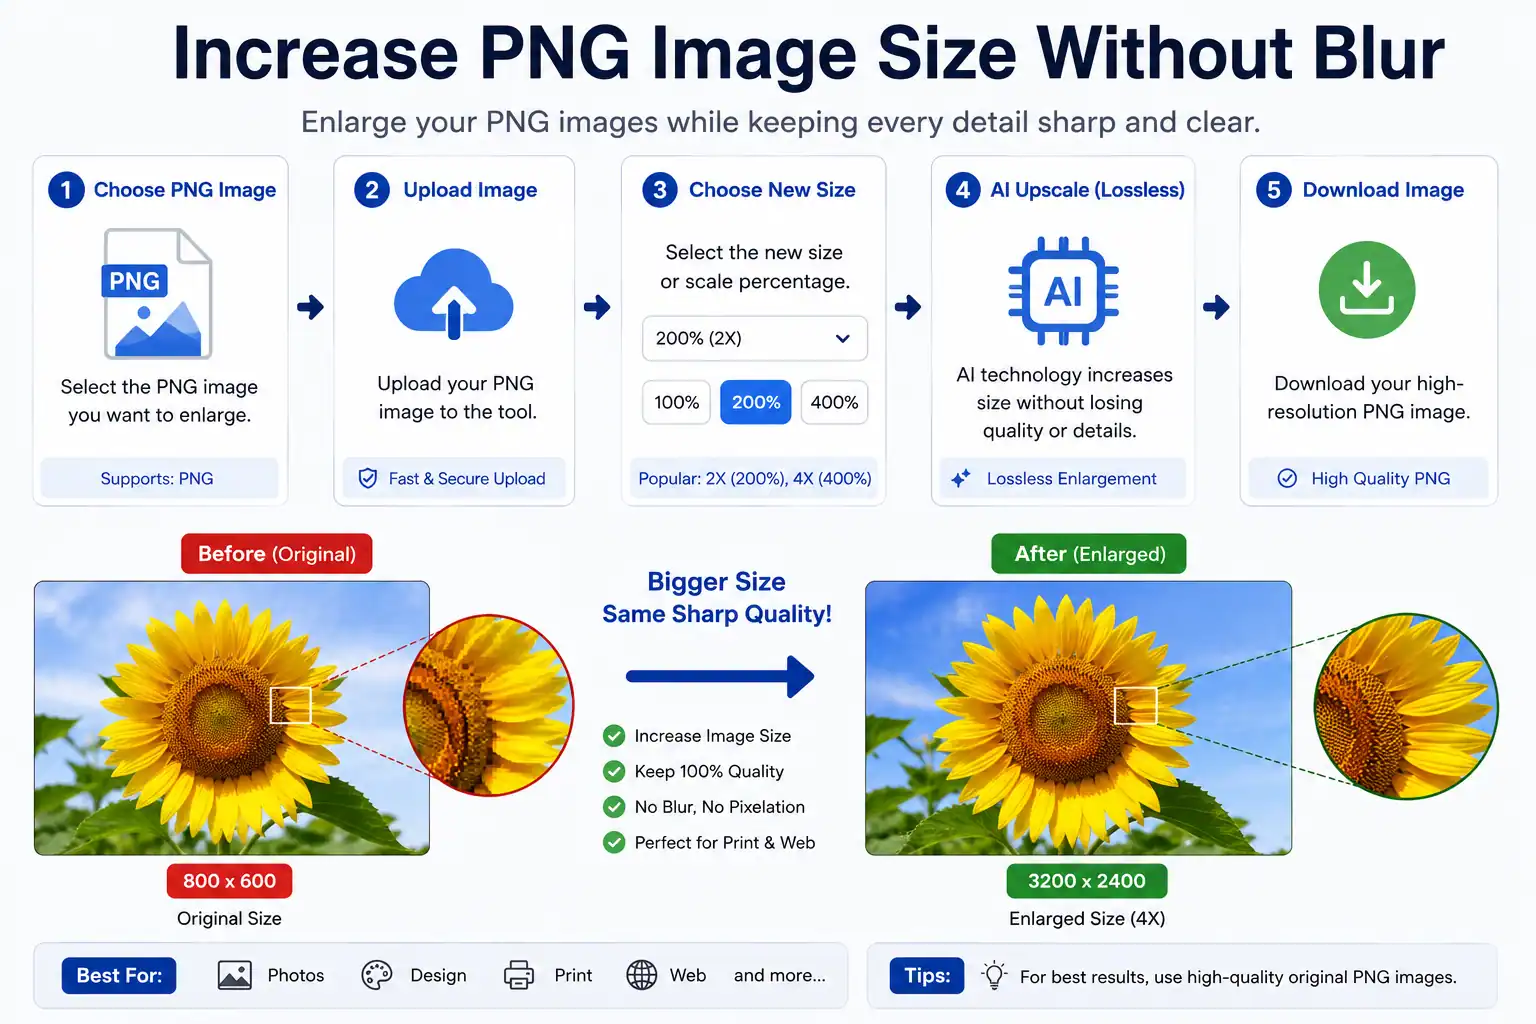
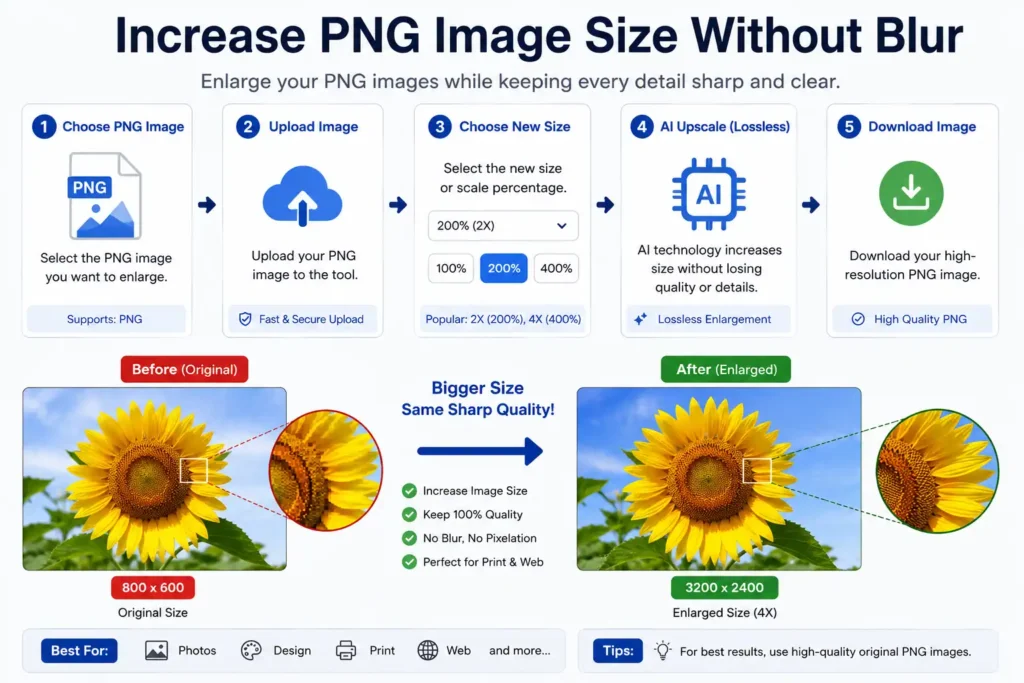
Increase PNG Image Size Without Blur
PNG is one of the most dependable image formats for preserving clean edges, transparency, and fine detail. It is widely used for logos, website graphics, screenshots, product cutouts, interface elements, icons, illustrations, and any image that needs a sharp appearance on screen or in print.
Still, one common issue appears again and again: when a PNG image is enlarged, it can turn soft, blurry, pixelated, or uneven around the edges. This usually happens when the image is resized without considering source quality, pixel dimensions, interpolation method, or export settings.
The important point is that PNG itself is not the problem. PNG uses lossless compression, which means it does not discard image data the way many compressed formats do. The real limitation comes from the original pixel count. If the source image is too small, enlarging it too much will expose the lack of detail.
This guide explains how to increase PNG image size without blur, how to protect edge sharpness, and how to keep the image suitable for websites, print layouts, product listings, presentations, and digital publishing.
Understanding PNG Image Size
Before resizing a PNG file, it helps to understand what image size actually means. Many people use the term loosely, but in practice it refers to two different things:
- Pixel dimensions
- File size
Pixel Dimensions
Pixel dimensions describe the width and height of the image in pixels.
Example:
1500 × 1500 pixels
This means the image contains 1500 pixels across and 1500 pixels down. When you increase the dimensions, you are making the image physically larger in pixel space. That can help when the image needs to appear bigger on a screen, in a layout, or in a printed document.
File Size
File size is measured in:
- KB
- MB
Example:
- 850 KB
- 4.2 MB
A larger file size does not automatically mean better quality. A PNG file can be large because it contains more detail, but it can also be large because of transparency, color depth, or unoptimized export settings. The real measure of quality is the amount of usable detail in the source image.
Why This Difference Matters
If you increase file size without improving pixel dimensions or source quality, the image will not become sharper. Likewise, if you increase dimensions too aggressively from a small source, the image may look stretched or soft. Good resizing depends on balancing dimensions, resolution, and export quality.
What Makes PNG Different
PNG stands for Portable Network Graphics. It is a raster image format, which means it is built from pixels rather than mathematical paths. This makes PNG ideal for detailed graphics that need clean rendering at fixed sizes.
PNG is especially useful because it offers:
- Lossless compression
- Strong edge definition
- Transparency support through alpha channel
- Better text clarity than many compressed formats
- Reliable detail retention for graphics and screenshots
These qualities make PNG a strong choice for:
- Logos
- Icons
- Interface graphics
- Website banners
- Transparent product images
- Digital illustrations
- Charts and diagrams
- Screenshots with text or UI elements
PNG is often preferred when the image contains flat colors, sharp lines, or transparent backgrounds. It is less suitable for very large photographic images where file size needs to stay small, but for graphics and brand assets it performs very well.
Why PNG Images Become Blurry
Even though PNG preserves quality better than many formats, resizing can still damage the image if it is done incorrectly. Blur usually appears because the image does not contain enough original detail for the new size.
Common reasons include:
Enlarging Too Aggressively
If a small image is enlarged too much, the software has to guess where the missing pixels should go. For example:
500 × 500 → 5000 × 5000
That kind of jump often creates soft edges, visible pixel blocks, and loss of clarity.
Starting With a Small Original
A tiny source file has limited information. If the original logo or graphic was created at a low resolution, there may not be enough detail to support a larger version.
Incorrect Resampling Method
Different resizing methods produce different results. Some methods are better for shrinking, while others are better for enlarging. Using the wrong interpolation can make edges look rough or overly smooth.
Distortion of Proportions
If the width and height are changed unevenly, the image can become stretched. This is especially noticeable in logos, icons, and text-based graphics.
Repeated Saving and Re-Exporting
Each time a file is edited and exported again, quality can shift slightly. Repeated processing may introduce softness, halos, or compression-related artifacts.
Understanding these causes helps prevent blur before it appears.
Start With the Highest Resolution PNG
The original file matters more than the enlargement itself. If you begin with a strong source, the final result will usually be much better.
Recommended sources include:
- Original design exports
- Master artwork files
- High-resolution PNG files
- Original screenshots
- Source illustrations
- Brand assets created at proper size
Avoid using:
- Downloaded previews
- Cropped thumbnails
- Social media copies
- Repeatedly saved files
- Compressed duplicates
If the PNG comes from a logo or illustration, check whether a vector version exists. Vector files such as SVG, EPS, or PDF can be exported to PNG at the exact size you need. That is often better than enlarging a small raster file.
Maintain Aspect Ratio
Aspect ratio is the relationship between width and height. Keeping it consistent preserves the original shape of the image.
Common aspect ratios include:
- 1:1
- 4:5
- 16:9
- 3:2
- 2:3
If the aspect ratio is changed, the image may look stretched or compressed. This is a serious issue for:
- Logos
- Product labels
- Interface icons
- Typography-based graphics
- Transparent overlays
For best results, lock the aspect ratio while resizing. If you need a different shape, crop the image after resizing instead of forcing the proportions.
Increase PNG Dimensions Gradually
A gradual approach usually gives cleaner results than one large jump. When you enlarge a PNG step by step, the software has a better chance of preserving edge structure and visual balance.
Poor approach:
1000 × 1000 → 6000 × 6000
Better approach:
1000 × 1000 → 1600 × 1600 → 2400 × 2400 → 3200 × 3200
This method helps reduce:
- Edge softness
- Pixel breakup
- Jagged outlines
- Unnatural smoothing
It is especially useful for logos, icons, and graphics with text or thin lines. After each step, inspect the image at full size to see whether the quality is still acceptable.
Preserve Transparency During Enlargement
Many PNG files contain transparent backgrounds. This is one of the format’s biggest advantages, especially for product cutouts, logos, overlays, and web graphics.
When resizing transparent PNG images, pay attention to:
- Edge smoothness
- Alpha channel integrity
- Shadow consistency
- Background halos
- Layer alignment
Transparency can reveal problems that are not obvious on a solid background. For example, a faint white edge may appear around a logo after resizing. This is often caused by poor export settings or incorrect background handling.
If the PNG has soft shadows or semi-transparent areas, check them carefully after resizing. These details can shift if the image is enlarged too quickly or exported with the wrong settings.
Resolution and PNG Enlargement
Resolution plays a major role in image clarity. It affects how much detail is visible when the image is displayed on screen or printed on paper.
Important concepts include:
Pixels
Pixels are the smallest visual units in a raster image. More pixels usually mean more detail, provided the source image was created properly.
Resolution
Resolution refers to the amount of detail in the image. A higher-resolution PNG can usually be enlarged more safely than a low-resolution one.
PPI
PPI means pixels per inch. It is commonly used for digital screens and layout work.
Typical screen values:
- 72 PPI
- 96 PPI
- 150 PPI
DPI
DPI means dots per inch. It is commonly used for print output.
Typical print value:
- 300 DPI
For print-ready PNG files, the image should have enough pixel dimensions to support the intended physical size. A file that looks fine on a website may still be too small for a brochure, poster, or packaging layout.
Increase PNG Size for Different Uses
The right resizing method depends on where the image will be used.
Website Graphics
For websites, the goal is to keep the image sharp while maintaining reasonable loading speed. Large PNG files can slow down pages, so balance quality with optimization.
Useful for:
- Headers
- Icons
- Buttons
- Transparent overlays
- UI elements
Logos
Logos need crisp edges and accurate proportions. If the logo is small, consider using the original vector file and exporting a new PNG at the required size.
Focus on:
- Edge clarity
- Shape accuracy
- Clean transparency
- Consistent spacing
Product Images
Product graphics often need clean backgrounds and accurate detail. Enlarging a product PNG too much can make edges look rough or artificial.
Focus on:
- Detail preservation
- Background consistency
- Shadow quality
- Clean cutout edges
Print Projects
For print, the image must have enough pixels for the final physical size. A PNG that looks acceptable on a screen may not be suitable for a flyer, catalog, or label.
Focus on:
- High pixel count
- Correct DPI
- Sharp text
- Accurate color handling
Presentations
Presentation slides often use PNG files for charts, screenshots, and diagrams. These images should remain readable on large screens.
Focus on:
- Clean text rendering
- Strong contrast
- Clear lines
- Balanced file size
Different uses require different resizing choices, so always match the image to the final purpose.
Prevent Blur During Export
Export settings can make a big difference. Even if the resizing step is done correctly, poor export settings can reduce quality.
Best practices include:
- Keep the original aspect ratio
- Avoid unnecessary re-saving
- Use the correct color profile when needed
- Review the image at 100% zoom
- Export at the final intended size whenever possible
If the software offers resampling options, choose the one that suits enlargement. Some methods are better for preserving edges, while others are better for photographic detail. For graphics, a method that keeps lines clean is usually preferable.
Also check whether the export process adds unwanted compression or background changes. PNG is lossless, but some tools still apply optimization that can affect appearance if used carelessly.
Improve Edge Sharpness Carefully
PNG files often contain sharp lines, text, and geometric shapes. These elements can lose definition if the image is enlarged without care.
Useful adjustments include:
- Edge refinement
- Controlled sharpening
- Contrast balancing
- Minor cleanup of stray pixels
Avoid overdoing these corrections. Excess sharpening can create halos, rough outlines, and unnatural texture. Harsh contrast can make the image look artificial. The goal is to keep the original structure intact while improving readability and clarity.
For logos and icons, clean edges usually matter more than heavy sharpening. For screenshots and interface graphics, text legibility is often the main priority.
File Size vs Quality
A large PNG file is not automatically better than a smaller one. File size depends on many factors, including transparency, color complexity, and export settings.
Image quality depends more on:
- Source file quality
- Pixel dimensions
- Resolution
- Compression method
- Resampling choice
A smaller, well-prepared PNG can look better than a larger file that was enlarged from a weak source. That is why optimization matters. The goal is not to make the file as large as possible, but to make it as clear as necessary for the intended use.
Common Mistakes to Avoid
Enlarging Tiny Logos
Small logos often lose detail when stretched too far. If possible, use the original brand file or recreate the logo from vector artwork.
Ignoring Transparency
Transparent edges can show halos, jagged borders, or background contamination after resizing.
Using the Wrong Format
If transparency is required, keep the file as PNG. If the image is a photograph and transparency is not needed, another format may be more efficient.
Stretching the Image
Never change width and height independently unless distortion is intended. Keep the proportions locked.
Excessive Editing
Too many corrections can reduce natural sharpness. Make only the adjustments that improve clarity.
Best Workflow for Increasing PNG Image Size
A practical workflow helps produce cleaner results.
Step 1: Use the original PNG file
Step 2: Check the current pixel dimensions
Step 3: Lock the aspect ratio
Step 4: Resize gradually instead of making one large jump
Step 5: Inspect edges, text, and transparent areas
Step 6: Export with the correct settings
Step 7: Review the final image at full size
If the image still looks soft after resizing, consider whether the source file is too small. In that case, recreating the graphic from a higher-quality source may be better than forcing enlargement.
Frequently Asked Questions
Can PNG images increase in size without blur?
Yes, if the source file has enough detail and the resizing process is handled carefully. The original resolution, aspect ratio, and export settings all matter.
Is PNG better than JPG for graphics?
Usually yes. PNG is often better for logos, icons, screenshots, and transparent graphics because it preserves edges more effectively.
Does PNG support transparency?
Yes. PNG supports transparency through the alpha channel, which makes it useful for overlays, cutouts, and web graphics.
Is a larger PNG always better?
No. A larger file is not always sharper. Quality depends on the source image, pixel count, and how the file was resized and exported.
What should I do if the PNG is too small?
If the original is very small, the best option may be to use a higher-resolution source or recreate the image from vector artwork instead of enlarging it too much.
Final Thoughts
Increasing PNG image size without blur is not just about making the file bigger. It is about preserving detail, protecting edges, and keeping the image suitable for its final use.
When you start with a high-quality source, maintain the correct aspect ratio, resize gradually, preserve transparency, and export carefully, PNG files can remain sharp and professional across websites, presentations, product graphics, print materials, and digital content.
The most reliable results come from treating enlargement as a quality process, not a simple size change. If the source file is strong and the workflow is careful, PNG images can scale well while keeping the clean appearance that makes the format so useful.