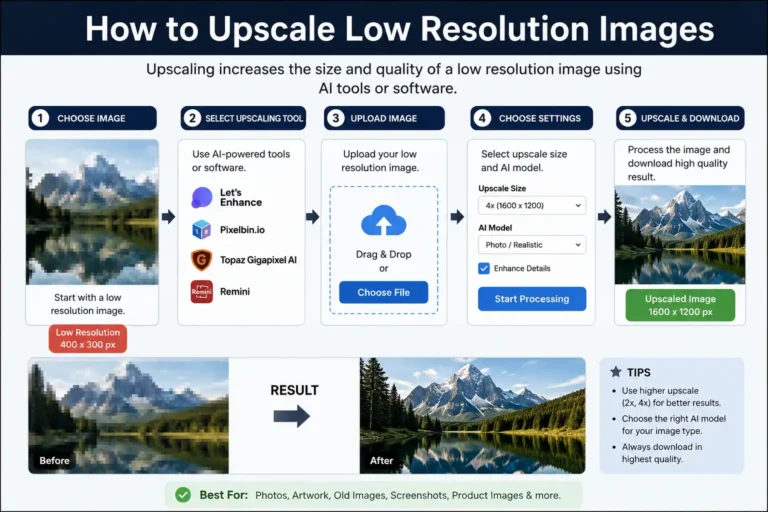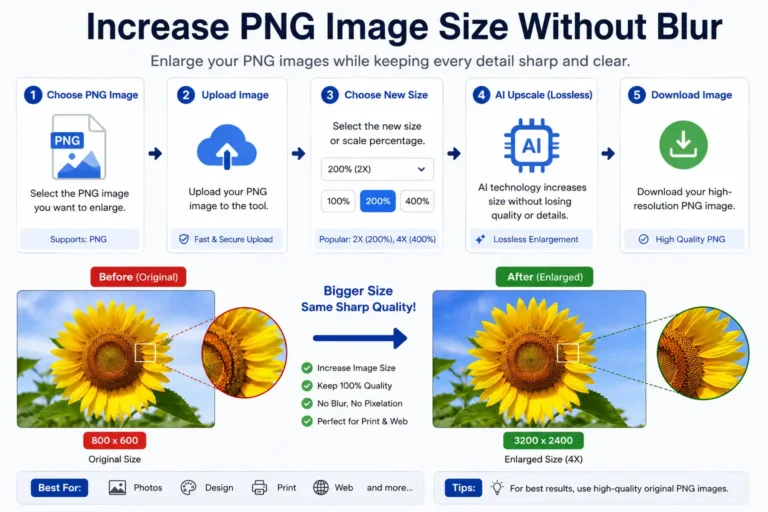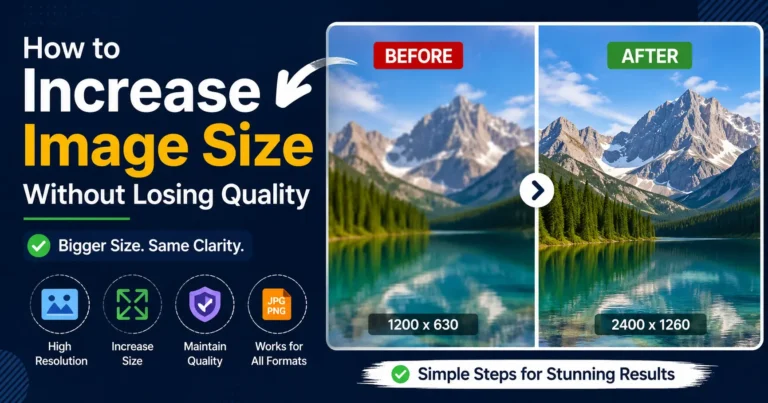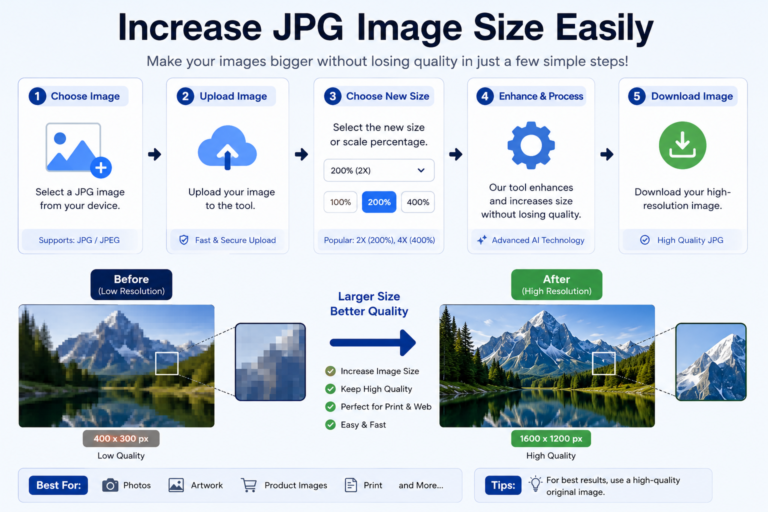
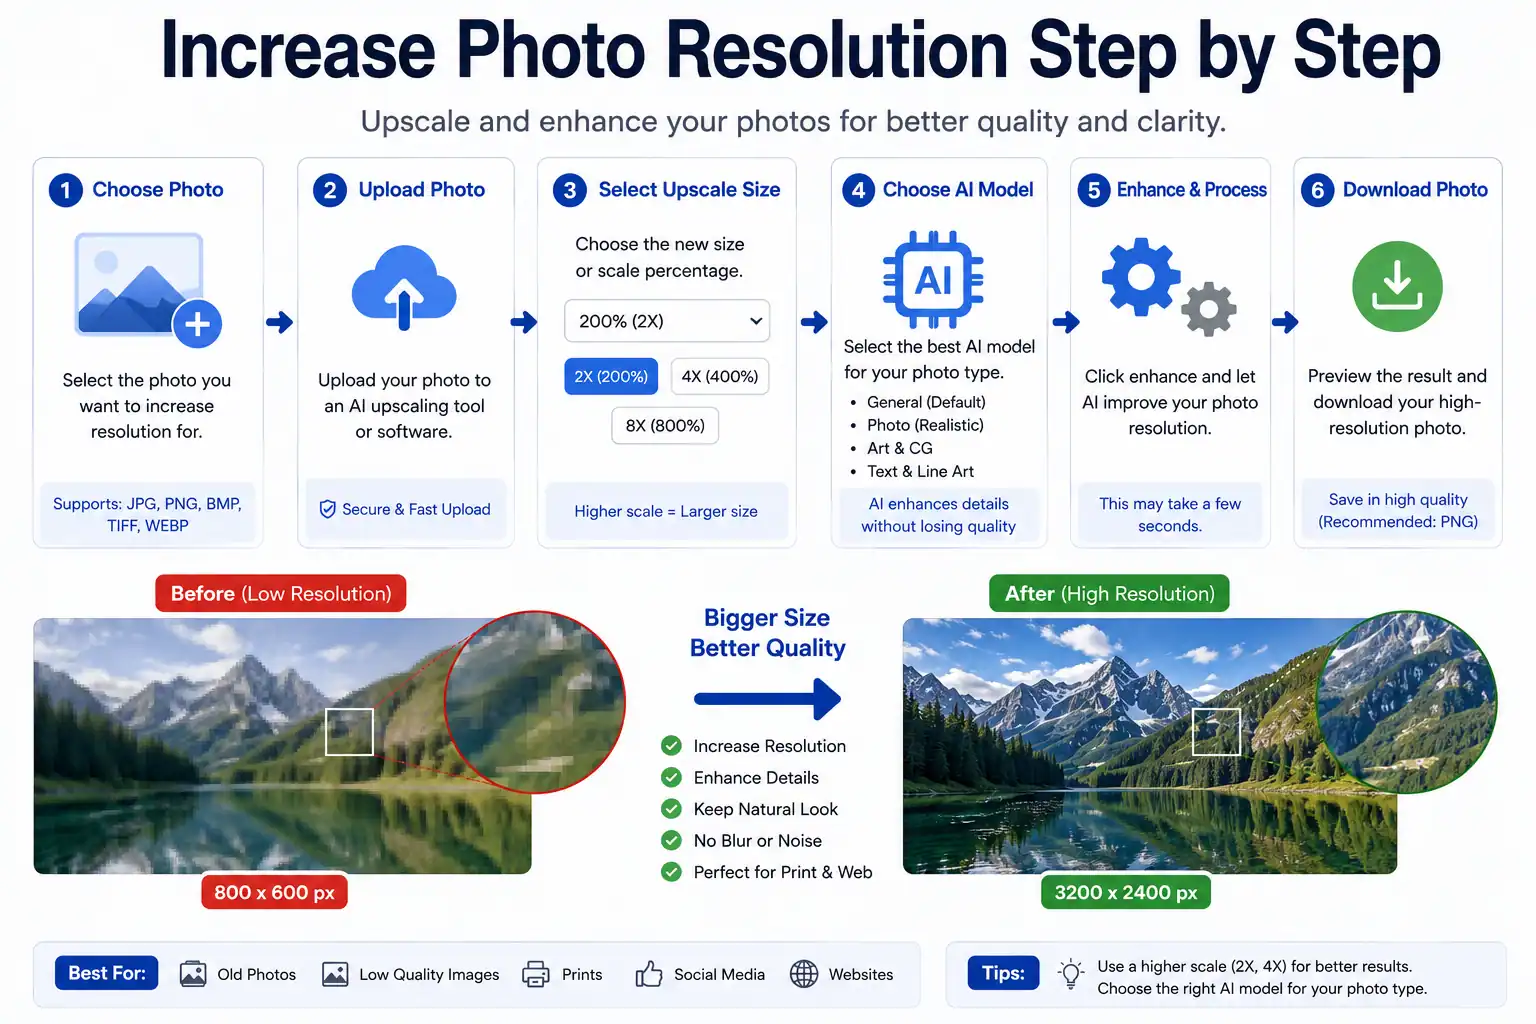
Increase Photo Resolution Step by Step
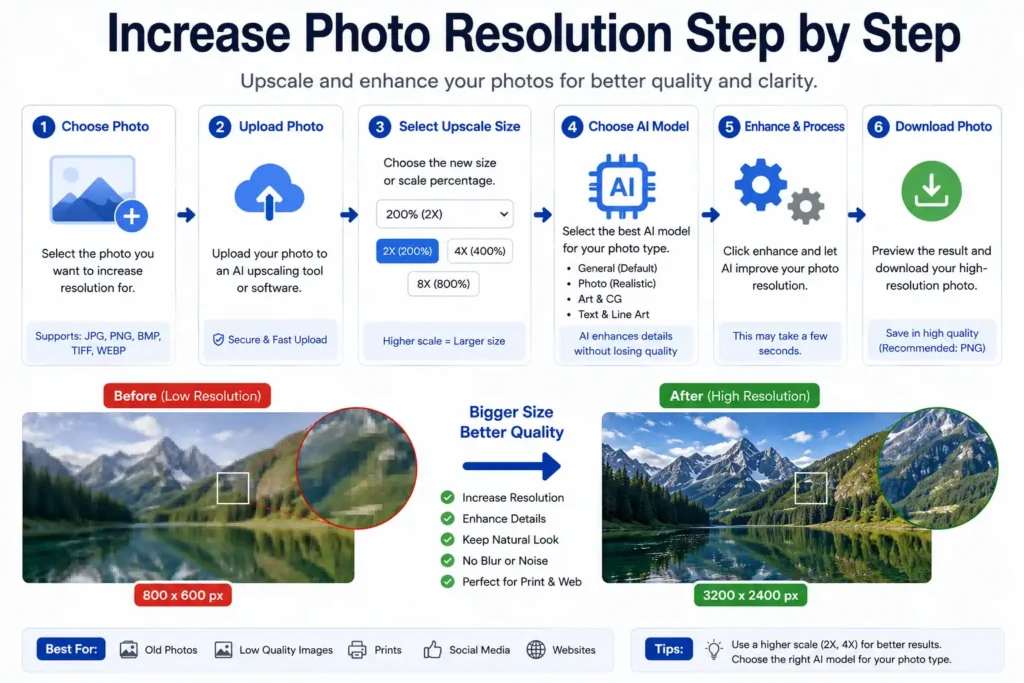
Photo quality matters in almost every visual project. A sharp image can improve a website layout, strengthen a product listing, support a print brochure, and make a portfolio look more professional. On the other hand, a low-resolution photo often looks soft, pixelated, or stretched when it is enlarged.
Many people try to increase photo resolution because they need a picture for a larger screen, a high-quality print, a catalog, a presentation slide, or a digital archive. The challenge is that resolution cannot be improved by simply making the file bigger. A careful workflow is needed to protect detail, preserve proportions, and avoid visible quality loss.
The best results come from understanding image dimensions, pixel density, compression, file format, and export settings. When these elements are handled correctly, a photo can be resized with much better clarity and balance.
This guide explains how to increase photo resolution step by step while keeping the image clean, sharp, and suitable for its final use.
What Does Photo Resolution Mean?
Photo resolution refers to the amount of visual detail contained in an image. It is usually described through pixel dimensions and pixel density. A photo with more pixels generally contains more information, which gives you more flexibility for editing, printing, and publishing.
Resolution is commonly connected to:
- Pixel width
- Pixel height
- Pixel density
- Overall image clarity
Examples:
Low Resolution:
800 × 600
Medium Resolution:
1920 × 1080
High Resolution:
4000 × 3000
A higher-resolution image usually gives better results when you crop, enlarge, or print it. It can also hold finer details such as fabric texture, facial features, product edges, and background elements.
However, resolution alone does not guarantee quality. A large image that started from a weak source may still look soft or noisy. The original detail in the photo is just as important as the final dimensions.
Understand the Difference Between Resolution and File Size
Many users confuse resolution with file size, but these are not the same thing.
Resolution
Resolution describes how many pixels are in the image. It affects visible detail and image dimensions.
Measured using:
- Width
- Height
- Pixels
File Size
File size describes how much storage the image uses.
Measured in:
- KB
- MB
Example:
Photo A:
1200 × 1200
800 KB
Photo B:
4000 × 4000
2 MB
The second image may contain more detail, but file size alone does not tell the full story. A heavily compressed image can be large in file size and still look poor. A well-optimized image can be smaller and still look sharp.
For this reason, always focus on resolution, compression, and source quality together.
Step 1: Start With the Highest Quality Original
The original file determines how far you can push the image without visible damage. If the source is weak, the final result will also be limited.
Best source files include:
- Original camera files
- RAW photos
- High-resolution JPEGs
- TIFF files
- Scanned photographs
- Master design exports
- Original product images
Avoid using:
- Screenshots
- Social media downloads
- Repeatedly saved copies
- Cropped previews
- Compressed thumbnails
- Messaging app versions
A RAW file or high-quality original usually gives the best foundation because it contains more image data, better tonal range, and stronger detail. If you are working with a client photo, a product image, or a scanned print, always begin with the cleanest version available.
Step 2: Check Current Photo Dimensions
Before increasing resolution, inspect the current dimensions of the image. This tells you how much room you have for enlargement.
Examples:
Small:
600 × 800
Medium:
2000 × 1500
Large:
4000 × 3000
Ask a few practical questions:
- Will the image be used on a website?
- Is it meant for print?
- Will viewers zoom in closely?
- Will it appear full-screen?
- Does it need to fit a specific layout?
These questions help you decide the target size. A banner image, a passport-style photo, a product close-up, and a poster all require different dimensions. There is no single correct resolution for every use.
You can check dimensions in most photo editing software, image viewers, or file properties panels.
Step 3: Preserve Aspect Ratio
Aspect ratio is the relationship between width and height. It controls the shape of the image.
Common aspect ratios include:
- 1:1
- 4:5
- 16:9
- 3:2
If you change the width and height without keeping the same ratio, the image can become stretched or compressed. This often causes:
- Distorted faces
- Uneven product shapes
- Flattened objects
- Unnatural layouts
- Soft or warped edges
To avoid this, lock the aspect ratio before resizing. Most editing tools offer a chain icon, a lock option, or a “constrain proportions” setting.
If the image needs a different shape for a layout, crop it after resizing instead of stretching it. This keeps the photo looking natural and professional.
Step 4: Increase Resolution Gradually
One of the most common mistakes is enlarging an image too aggressively in a single step. A large jump can create blur, jagged edges, and visible artifacts.
Poor example:
800 → 5000
Better approach:
800 → 1500 → 2500 → 3500
Gradual resizing gives you more control over the final result. It also makes it easier to inspect the image after each stage and stop before quality drops too much.
When resizing, pay attention to:
- Edge sharpness
- Skin texture
- Hair detail
- Text clarity
- Background patterns
- Fine lines
For photographs, interpolation method matters as well. Many editing programs offer options such as bicubic, bicubic smoother, bicubic sharper, or Lanczos. These methods estimate new pixels during enlargement. For most photos, bicubic or Lanczos-based resizing gives cleaner results than basic scaling.
If the image is a logo, icon, or flat graphic, the resizing approach may differ from a regular photograph.
Step 5: Understand PPI and DPI
PPI and DPI are often used when discussing resolution, but they serve different purposes.
PPI (Pixels Per Inch)
PPI is mainly used for screens and digital display. It describes how many pixels appear in one inch of image space.
Typical screen-related values:
- 72 PPI
- 96 PPI
- 150 PPI
Common uses:
- Websites
- Social media
- Digital publishing
- Presentations
- App graphics
DPI (Dots Per Inch)
DPI is mainly used for printing. It describes how many ink dots are placed in one inch of printed output.
Typical print value:
- 300 DPI
Common uses:
- Posters
- Flyers
- Brochures
- Photo prints
- Catalog pages
For print work, 300 DPI is often preferred because it helps maintain crisp detail. For large-format printing, lower values may still work if the image is viewed from a distance. For example, a banner or billboard does not always need the same density as a small brochure.
Do not confuse PPI or DPI with pixel dimensions. A photo can have the same pixel dimensions but different output settings depending on how it will be used.
Step 6: Choose the Correct File Format
The file format affects quality, transparency, compression, and editing flexibility.
JPEG
Best for:
- Photography
- Web content
- General sharing
Advantages:
- Smaller file size
- Wide compatibility
- Good for natural images
Limitations:
- Lossy compression
- Quality drops after repeated saves
PNG
Best for:
- Graphics
- Transparent backgrounds
- Screenshots
- Logos with clean edges
Advantages:
- Lossless compression
- Better edge preservation
- Transparency support
Limitations:
- Larger file size than JPEG
WEBP
Best for:
- Website optimization
- Faster loading pages
Advantages:
- Efficient compression
- Good balance between quality and size
TIFF
Best for:
- Printing
- Archiving
- Professional editing
Advantages:
- Strong detail retention
- Excellent for master files
If the image will be edited again, keep a master copy in a high-quality format such as TIFF or a high-resolution JPEG. For web use, export a separate optimized version.
Also consider color profile. For online use, sRGB is usually the safest choice. For print workflows, color-managed files may require different settings depending on the printer or press.
Step 7: Preserve Sharpness Carefully
When resolution increases, some softness is normal. That is why sharpening is often used after resizing. The key is to sharpen carefully, not aggressively.
Focus on:
- Edge definition
- Texture visibility
- Fine detail
- Subject clarity
Avoid:
- Harsh outlines
- Over-sharpened halos
- Excess contrast
- Artificial texture
- Grainy surfaces
A light sharpening pass can improve the look of a resized photo, especially around eyes, hair, product edges, and text. But too much sharpening can make the image look unnatural and noisy.
If the photo contains visible grain or digital noise, reduce noise before sharpening. This is especially useful for low-light photos, scanned images, and older camera files.
Step 8: Control Compression During Export
Export settings can make a strong image look weak if they are handled poorly. Compression affects detail, smooth gradients, and edge quality.
Best practices:
- Export once from the master file
- Keep an untouched backup
- Use balanced compression
- Avoid repeated re-saving
- Review the final output before publishing
For JPEG exports, a high-quality setting usually works better than a very low one. For PNG exports, keep the file lossless when transparency or crisp edges matter. For web delivery, choose a format that balances speed and clarity.
Repeated exporting is one of the fastest ways to reduce quality. Each save can introduce more compression artifacts, especially in areas like skies, skin tones, shadows, and backgrounds.
Step 9: Inspect the Final Resolution
Before publishing or printing, review the image carefully. Do not rely only on the thumbnail view.
Check:
- Texture
- Faces
- Text
- Edges
- Background details
- Color consistency
- Shadow smoothness
- Compression artifacts
View the image at:
- Full screen
- 100% zoom
- Actual size
- Print preview if needed
This step helps you catch problems such as blur, banding, halos, color shifts, and pixelation. If the image is for client work, product listings, or print production, a final inspection is essential.
A test print can also be useful when preparing brochures, posters, or photo albums.
Increase Resolution for Different Purposes
Different projects need different output settings.
Website Photos
Focus on:
- Fast loading
- Clean display
- Optimized file size
- sRGB color profile
Product Images
Focus on:
- Sharp edges
- Accurate color
- Consistent framing
- Clear texture
Print Projects
Focus on:
- High DPI
- Correct dimensions
- Strong source quality
- Color accuracy
Social Media
Focus on:
- Platform-friendly dimensions
- Good compression balance
- Clear subject visibility
Digital Downloads
Focus on:
- Multi-device clarity
- Reliable file format
- Good resolution for zooming
Matching the output to the purpose gives better results than using one fixed setting for every image.
Common Resolution Problems
Blurry Photos
Cause:
Low-quality source, excessive enlargement, or weak sharpening.
Pixelation
Cause:
The image was enlarged too much from a small original.
Distortion
Cause:
Aspect ratio was not preserved.
Large File Sizes
Cause:
Poor optimization or unnecessary export settings.
Color Changes
Cause:
Incorrect color profile or export settings.
Compression Artifacts
Cause:
Too much JPEG compression or repeated saving.
Identifying the problem early saves time and prevents wasted edits.
File Size vs Photo Quality
A large file does not automatically mean a better photo. Quality depends on several factors working together:
- Resolution
- Compression
- Source detail
- File format
- Color depth
- Export method
A well-prepared image with the right dimensions and clean compression often performs better than a huge file that was resized badly. For websites, efficient optimization is especially important because it improves loading speed without sacrificing too much clarity.
Best Workflow Summary
Step 1:
Choose the best original
Step 2:
Review dimensions
Step 3:
Maintain proportions
Step 4:
Increase gradually
Step 5:
Adjust resolution for the final use
Step 6:
Export carefully
Step 7:
Inspect the output
This workflow is practical, reliable, and suitable for most editing tasks. It works well for photographers, designers, marketers, e-commerce teams, and anyone preparing images for digital or print use.
Frequently Asked Questions
Can photo resolution increase without quality loss?
Visible quality can often remain strong if the original image contains enough detail and the resizing process is handled carefully.
Does larger resolution mean better quality?
Not always. A larger image can still look weak if the source file is poor or heavily compressed.
Is higher MB better?
No. File size alone does not determine quality. Resolution, compression, and source detail matter more.
What resolution works for printing?
300 DPI is commonly preferred for many print jobs, although large-format printing may use different settings depending on viewing distance.
Which format keeps detail best?
TIFF and PNG preserve more information, while JPEG remains practical for photographs and web use.
Final Thoughts
Increasing photo resolution step by step gives better results than making one large jump. A careful process protects detail, keeps proportions intact, and reduces the risk of blur, distortion, and compression damage.
When resolution, dimensions, file format, compression, and export settings are managed properly, photos remain useful across websites, digital publishing, product listings, portfolios, presentations, and print projects.
The goal is not to create the biggest file possible. The real goal is to produce an image that looks sharp, balanced, and suitable for its final purpose. A disciplined workflow almost always delivers stronger results than aggressive resizing.