Increase Image Size Online Free – Complete Guide
Images are used everywhere on the internet. From websites and online stores to blogs, presentations, portfolios, and social media posts, image quality plays a major role in how content is perceived. A sharp, well-sized image creates a professional impression, while a blurry or stretched image can reduce trust and make even strong content look weak.
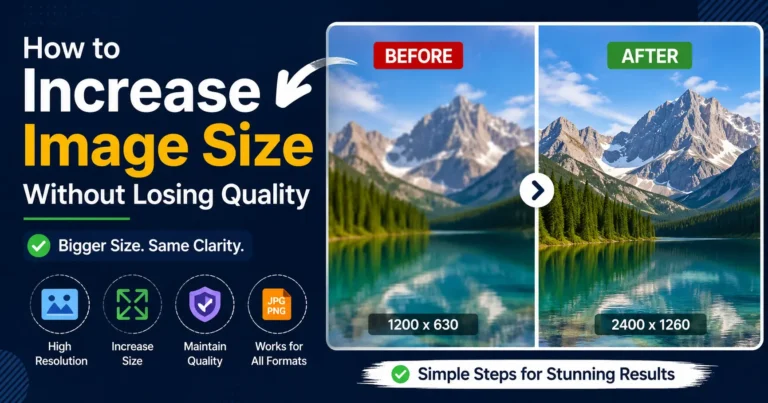
That is why so many people search for ways to increase image size online free without losing quality. Whether you want to enlarge a photo for printing, resize a product image for an e-commerce store, or prepare a graphic for a website, the goal is usually the same: make the image bigger while keeping it clear, balanced, and usable.
Many users try to enlarge an image and end up with pixelation, softness, or distorted edges. This happens because increasing dimensions is not the same as improving detail. A larger image does not automatically mean a better image.
The good news is that online image resizing can produce strong results when done correctly. With the right source file, proper settings, and a careful workflow, you can enlarge images online and keep them suitable for web design, print projects, digital downloads, and social media content.
This complete guide explains how image enlargement works, what affects quality, which file formats are best, and how to resize images online while preserving clarity and detail.
What Does Increase Image Size Mean?
Many people use the phrase “increase image size” to mean different things. In practice, image size can refer to two separate measurements:
- Pixel dimensions
- File size
Pixel Dimensions
Pixel dimensions refer to the width and height of an image.
Example:
1200 × 1200 pixels
When you increase pixel dimensions, the image becomes larger on screen or in print. This is the most common meaning of image enlargement. A photo with higher dimensions usually works better for banners, product pages, posters, and high-resolution displays.
File Size
File size is measured in:
- KB
- MB
Example:
- 500 KB
- 2 MB
A larger file size does not always mean better quality. An image can be large in MB but still look soft if it has poor resolution or heavy compression. On the other hand, a smaller file can still look sharp if it was exported properly.
Understanding this difference is important before using any online photo resizer or image enlarger.
Why People Increase Image Size Online
There are many practical reasons to enlarge images online. In most cases, users need a bigger version of an image for a specific purpose.
Website Upload Requirements
Some websites, marketplaces, and content platforms require minimum image dimensions. If the image is too small, it may not display properly or may be rejected during upload. Larger dimensions also help images look cleaner on retina displays and high-density screens.
Printing Photos
Small images often look blurry when printed. Enlarging them before printing can help improve the final result, especially when the original file has enough detail. Print quality depends on resolution, sharpness, and the amount of visible texture in the source image.
Product Photography
E-commerce stores depend on clear product images. Larger images help customers see texture, color, shape, stitching, and fine details more easily. This is especially important for clothing, jewelry, furniture, cosmetics, and handmade products.
Social Media Content
Different platforms use different image sizes. Enlarging and resizing images correctly helps content look better in feeds, stories, thumbnails, profile sections, and cover images. Proper sizing also prevents cropping issues and awkward framing.
Graphic Design Projects
Marketing banners, flyers, brochures, posters, and digital ads often require larger image dimensions. Designers need images that fit layouts without losing sharpness or creating visible artifacts.
Digital Downloads
High-resolution images are useful for templates, guides, artwork, and downloadable resources. Better image size improves the user experience and makes the final file more practical across devices.
The purpose behind resizing matters because it determines the best format, resolution, and export settings.
How Online Image Enlargement Works
Online image enlargement tools usually work in one of two ways.
Standard Resizing
Standard resizing stretches the existing pixels to make the image larger. This method is simple, but it often reduces sharpness because the software is not creating new detail. It is only expanding what already exists.
Result:
- Bigger dimensions
- Similar visual information
- Higher chance of blur or pixelation
Advanced Enlargement
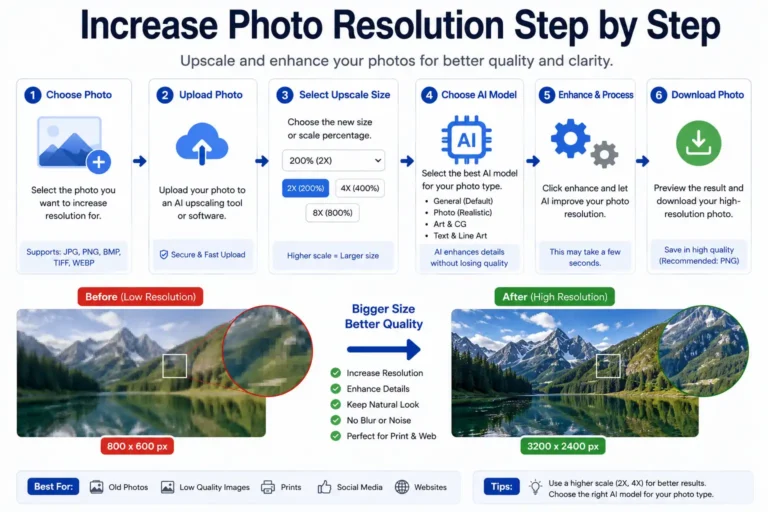
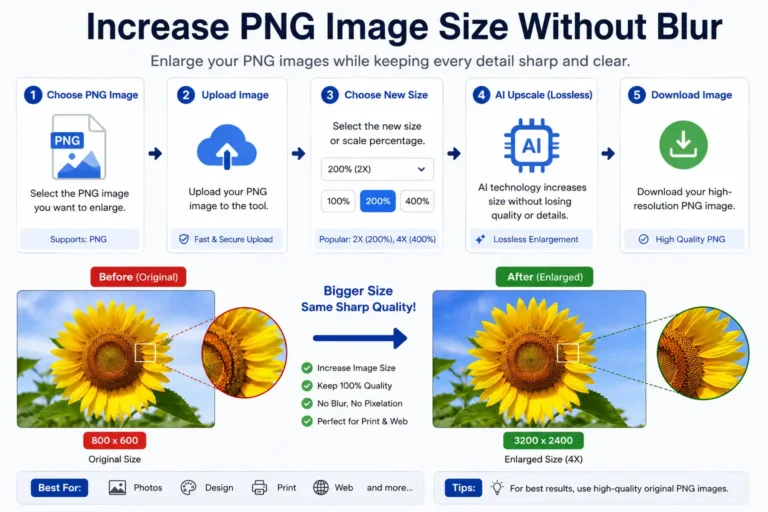
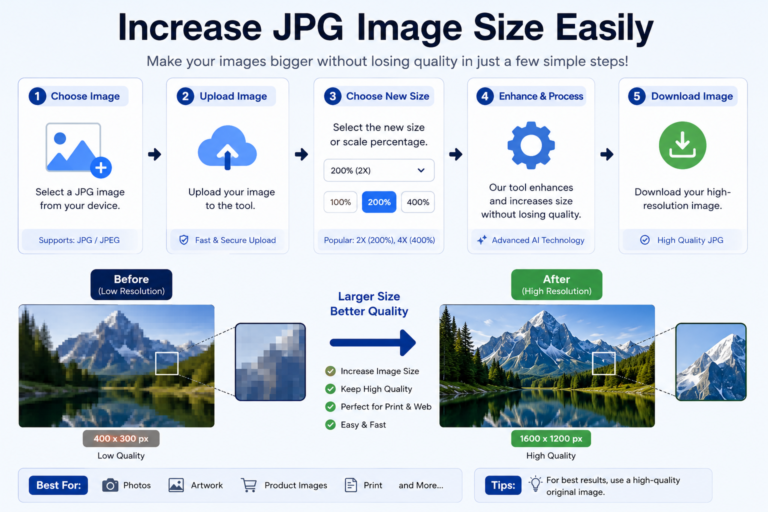
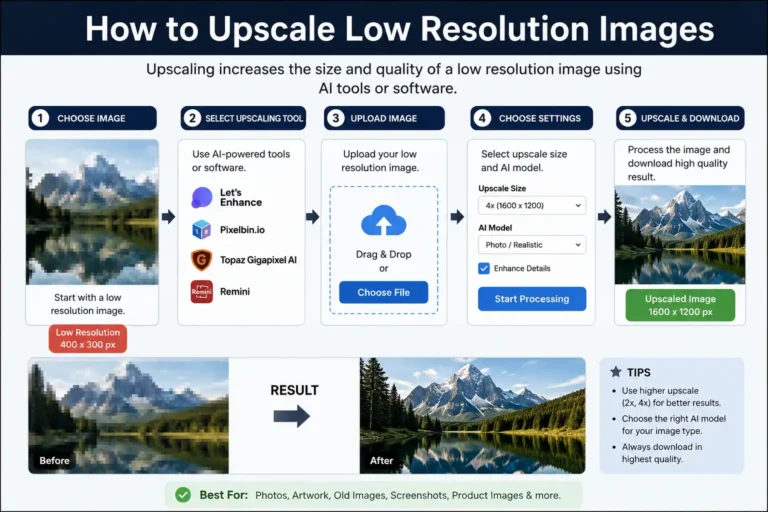
Some online tools analyze edges, textures, and patterns to create a cleaner enlarged version. These tools are often called image upscalers or photo enlargers. They are better suited for users who want to increase image size online free while keeping the image visually strong.
Result:
- Cleaner appearance
- Better detail retention
- Reduced pixelation
- More natural edges
The difference becomes more noticeable when enlarging small images or photos with fine detail such as hair, fabric, text, or background patterns.
Understanding Resolution Before Enlarging Images
Resolution is one of the most important factors in image quality. The more visual information an image contains, the better it usually performs when resized.
Important concepts include:
Pixels
Pixels are the tiny colored units that form an image. More pixels usually mean more detail.
Resolution
Resolution refers to the amount of detail in the image. Higher resolution images generally look sharper and can be enlarged more successfully.
PPI
Pixels per inch is used mainly for digital screens and display quality.
DPI
Dots per inch is important for printing and determines how much detail appears on paper.
Typical recommendations:
Website images:
72–150 PPI
Photo printing:
300 DPI
Large posters:
150–300 DPI
If the resolution is too low, enlarging the image may lead to visible quality loss. That is why resolution should always be checked before resizing.
Start With the Best Source File
The quality of the original file has a major impact on the final result. Online resizing works best when the source image already contains enough detail.
Recommended sources:
- Original photographs
- Camera files
- Design exports
- High-resolution graphics
- Edited master files
Avoid:
- Screenshots
- Social media downloads
- Heavily compressed files
- Cropped thumbnails
- Repeatedly saved images
A strong source file gives the resizing tool more information to work with. If the original image is too small, even the best online image enlarger may not fully restore detail. For this reason, starting with the cleanest possible file is one of the most important steps in the process.
Increase Image Dimensions Without Stretching
One of the most common mistakes is forcing an image into a much larger size all at once.
Example:
800 × 800 → 4000 × 4000
This kind of jump often creates:
- Blurry edges
- Texture loss
- Distortion
- Pixel blocks
- Soft facial details
A gradual approach usually gives better results.
Example:
800 → 1400 → 2200 → 3000
This method creates smoother transitions and helps preserve the natural look of the image. If you are using an online photo resizer, check whether it allows controlled scaling rather than aggressive stretching. Controlled resizing is especially useful for portraits, logos, and product photos where edge clarity matters.
Maintain Aspect Ratio During Resizing
Aspect ratio controls the shape of the image. It is the relationship between width and height.
Examples:
- 1:1
- 4:5
- 16:9
- 3:2
If the aspect ratio changes unexpectedly, the image may look stretched or compressed. This can distort faces, products, logos, and backgrounds.
Always keep the original proportions locked unless you intentionally want to crop or reshape the image. Maintaining aspect ratio is especially important for product photography, profile pictures, banners, and social media graphics. It also helps preserve composition and prevents awkward spacing in layouts.
Best Image Formats for Online Resizing
The file format affects how well an image holds up during enlargement.
JPEG
Best for:
- Photos
- Product images
- General web use
Advantages:
- Small file size
- Wide compatibility
- Good for colorful images
Limitations:
- Compression loss
- Less suitable for repeated editing
PNG
Best for:
- Logos
- Graphics
- Transparent backgrounds
- Text-based visuals
Advantages:
- Cleaner edges
- Better detail preservation
- Lossless compression
Limitations:
- Larger files
- Not always ideal for large photo libraries
WEBP
Best for:
- Websites
- Faster loading
- Modern web publishing
Advantages:
- Strong compression
- Efficient quality
- Good balance between size and clarity
Limitations:
- Some editing workflows may be limited
TIFF
Best for:
- Printing
- Professional workflows
- Archival storage
Advantages:
- Maximum detail
- Excellent quality retention
Limitations:
- Large storage requirements
- Not ideal for everyday web use
Choosing the right format before resizing can improve the final output and reduce unnecessary quality loss.
How to Preserve Quality While Increasing Image Size
If you want to enlarge image online without losing quality, follow these practical steps:
Use Clean Originals
Start with the highest available resolution. The better the source, the better the result.
Resize Gradually
Avoid extreme jumps in dimensions. Smaller steps usually preserve more detail.
Export Carefully
Use balanced compression settings so the image stays sharp without becoming too large.
Avoid Multiple Saves
Every save can reduce quality, especially with JPEG files. Keep a master copy.
Check Final Output
Zoom in and inspect edges, textures, text, and background areas before publishing or printing.
Preserve Natural Appearance
Avoid over-processing. Too much sharpening or filtering can make the image look artificial.
Match the Output to the Purpose
A website banner, a printed flyer, and a social media post do not need the same settings. Choosing the right output size helps maintain clarity and keeps file weight under control.
These habits are useful whether you are using a free online image resizer, a browser-based photo editor, or a desktop tool.
Increase Image Size for Different Purposes
Different use cases require different resizing choices.
For Websites
Focus on:
- Fast loading
- Clear display
- Optimized dimensions
- Balanced file size
Web images should look sharp without slowing down the page. Good web graphics also improve user experience and reduce bounce rate.
For Printing
Focus on:
- High DPI
- Accurate detail
- Proper color output
- Large enough dimensions
Print files need more resolution than screen images. A file that looks fine on a monitor may still appear soft on paper if the DPI is too low.
For E-Commerce
Focus on:
- Product visibility
- Consistent framing
- Clean backgrounds
- Sharp zoom views
Online shoppers rely on image clarity before making a purchase. Clear product photography can improve trust and reduce hesitation.
For Social Media
Focus on:
- Platform-friendly dimensions
- Sharp thumbnails
- Correct aspect ratio
- Good visibility on mobile screens
Each platform has its own preferred image size. Proper resizing helps avoid cropping problems and keeps visuals attractive in feeds and stories.
For Digital Products
Focus on:
- Download quality
- Multi-device compatibility
- Clear text and graphics
- Professional presentation
Digital downloads should remain readable and attractive on all screens, including laptops, tablets, and phones.
Common Problems After Enlarging Images
Even when using an online image enlarger, some issues may appear after resizing.
Blurry Results
Cause:
Low-quality originals or excessive enlargement.
Solution:
Start with a larger source file and resize more gradually.
Pixelation
Cause:
Extreme enlargement without enough source detail.
Solution:
Use a better original or a controlled enlargement method.
Distortion
Cause:
Incorrect proportions or aspect ratio changes.
Solution:
Lock the aspect ratio before resizing.
Huge File Sizes
Cause:
Poor export settings or unnecessary high-quality output for the wrong use case.
Solution:
Use optimized export settings for the final purpose.
Color Changes
Cause:
Wrong export configuration or format mismatch.
Solution:
Review the image before publishing or printing.
Loss of Text Clarity
Cause:
Small text in the original image or aggressive resizing.
Solution:
Use a higher-resolution source and avoid over-compression.
File Size vs Image Quality
Many people assume that a larger file size means better quality. That is not always true.
Example:
Image A:
300 KB
Image B:
4 MB
Image A may still look sharper if it was optimized correctly and saved from a better source. Image B may simply be larger because of poor compression or unnecessary data.
Quality depends on:
- Resolution
- Compression
- Source detail
- Export settings
- File format
This is why it is important to focus on clarity, not just file size. A well-prepared image with the right dimensions often performs better than a heavy file with weak visual detail.
Tips for Better Online Image Resizing
Here are some useful tips to get better results when you increase image size online free:
- Keep original backups
- Resize only once when possible
- Match dimensions to the final purpose
- Check images at full zoom
- Avoid unnecessary filters
- Save a master version for future edits
- Use the correct format for the content type
- Test the final image on the target device or platform
- Keep text large enough to remain readable after resizing
- Use consistent settings for a series of images
Small habits can make a big difference in image quality over time.
Mistakes to Avoid
Enlarging Tiny Images
Very small images rarely scale perfectly. If the original file is too small, the enlarged version may still look soft.
Ignoring Final Use
Print and web images need different settings. A file that looks fine on screen may not print well.
Using Incorrect Format
Choose the format based on the image type. Photos, logos, and print files all have different needs.
Over-Sharpening
Too much sharpening creates halos, noise, and unnatural textures.
Compressing Too Aggressively
Heavy compression can remove detail and make the image look weak. Use balanced settings instead.
Forgetting to Crop After Resizing
Sometimes an image needs a final crop after enlargement to improve composition and remove empty space.
Frequently Asked Questions
Can I increase image size online for free?
Yes, many tools allow you to enlarge images online without cost. The final result depends on the source file, format, and resizing method.
Will increasing size improve quality?
Not automatically. Increasing size makes the image larger, but quality depends on resolution and detail.
Which image format is best?
JPEG is usually best for photos, PNG for graphics and transparency, and TIFF for print work.
Does file size matter?
Only partly. Resolution, compression, and source quality matter more than file size alone.
What resolution is good for printing?
300 DPI is a common recommendation for high-quality prints.
Can a small image be made suitable for large banners?
Sometimes, but only if the original file has enough detail. Very small images usually have limits.
Final Thoughts
Increasing image size online free is easier than ever, but good results depend on more than simply making an image bigger. To get the best outcome, you need to understand resolution, file formats, aspect ratio, compression, and the purpose of the final image.
Whether you are preparing images for a website, product listing, social media post, printed design, or digital download, careful resizing helps preserve clarity and professionalism. The goal is not just to enlarge the image, but to keep it sharp, balanced, and useful.
When you choose the right source file and use the right resizing method, you can increase image size online while maintaining strong visual quality. That makes your content look better, load properly, and create a more polished experience for your audience.
If you want reliable results, focus on the original file, the final use case, and the export settings. That simple approach gives you better control and helps every image perform at its best.